I love quinoa. But I’m really not a fan of it by itself. Are you? My preference is to enjoy it when it’s “mixed” into something like a pesto quinoa salad or as a pilaf with garlic mushrooms. Mmmmm. I’ve been making this version of a Thai quinoa salad for years now but never really took the time to standardize the recipe. With some encouragement from friends and family, I finally did it.
Here are my pre-requisites for a quinoa salad:
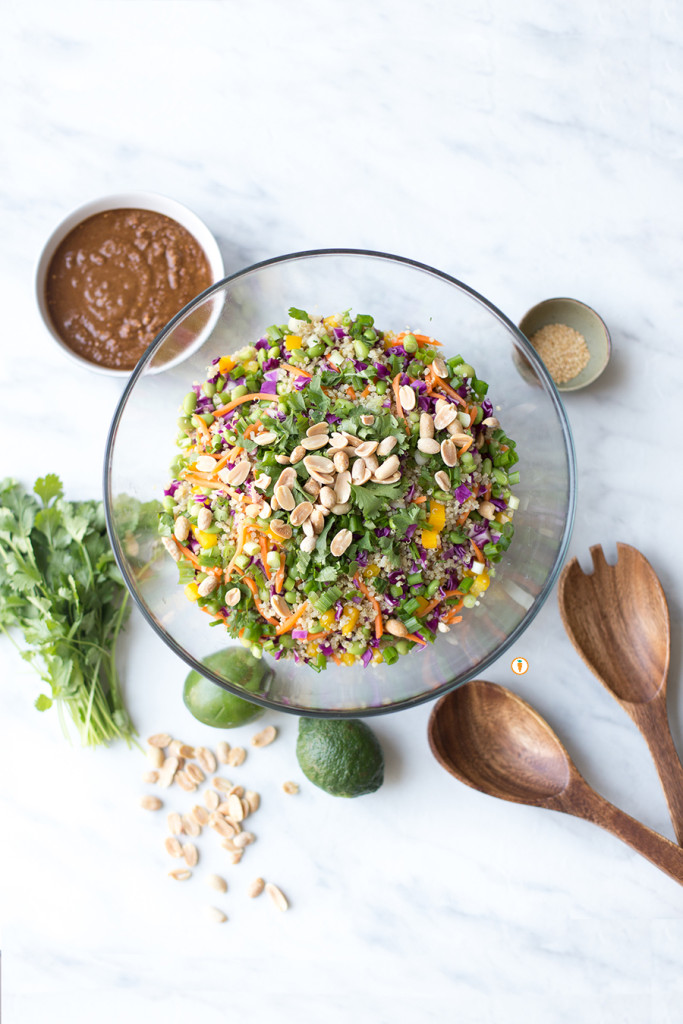
I want it to be hearty enough to be a meal, so I need a solid source of protein. Enter the edamame bean! A ½ cup serving of edamame beans is about 12 grams of protein.
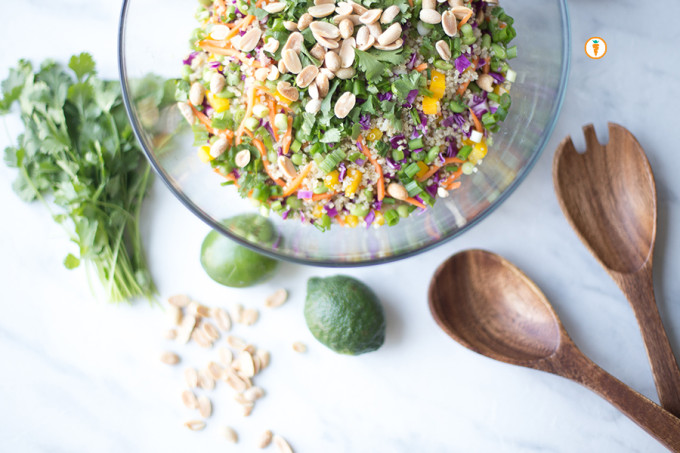
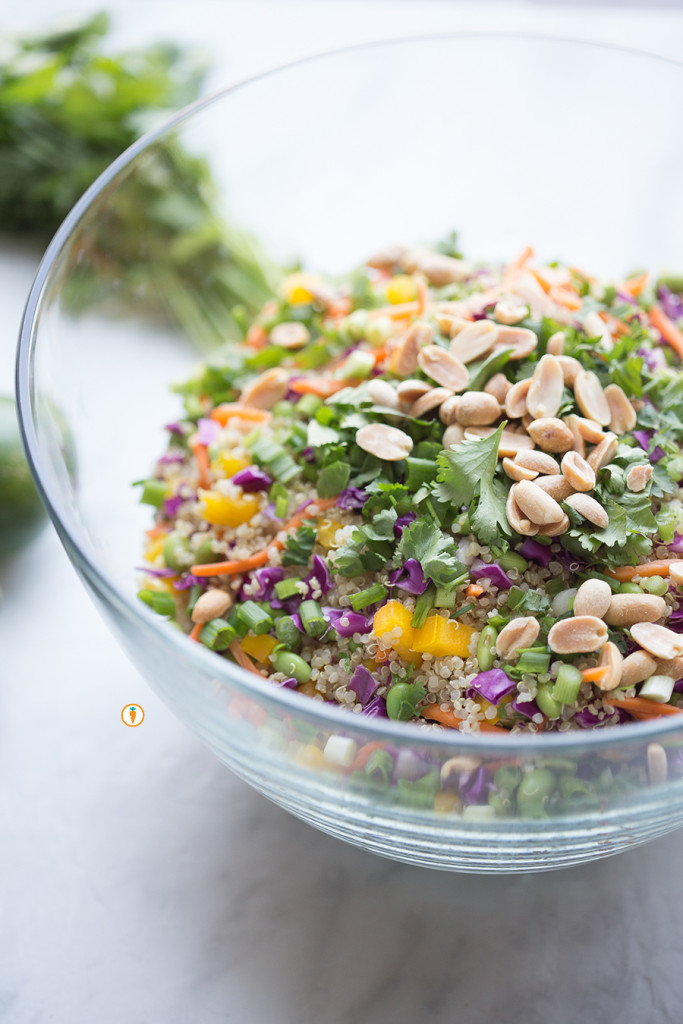
I want color. I eat with my eyes so against the quinoa I wanted to see some yellow, red, purple and green. A colorful meal also means I’m feeding my body variety of nutrients.
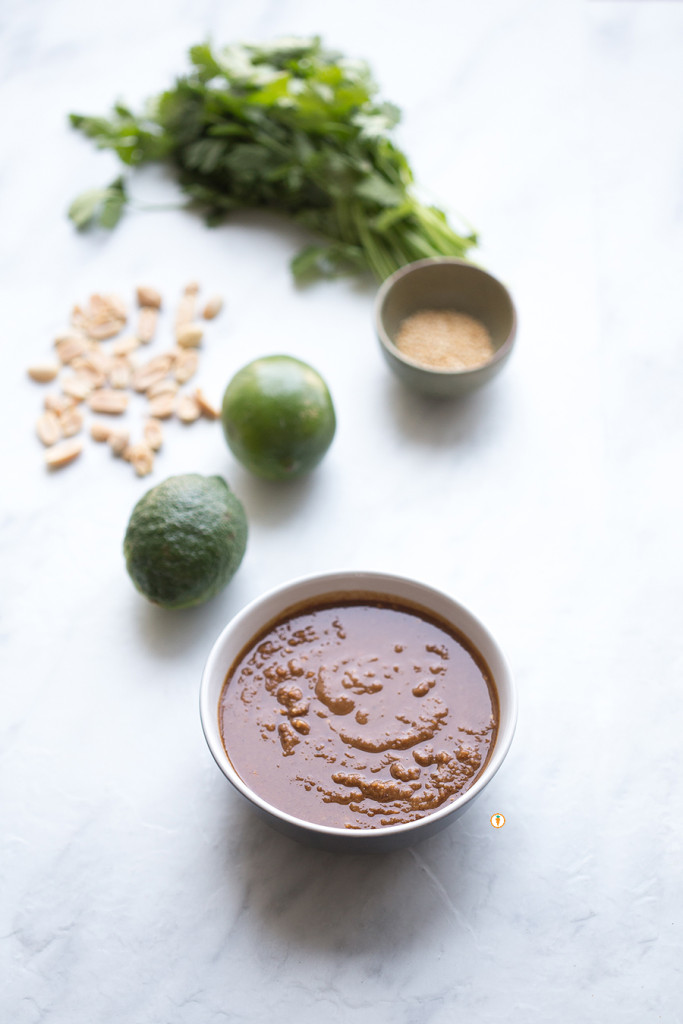
I want a good-for-you dressing. I’m not fearful of fat and my mantra has always been: it’s not the quantity of fat you eat, it’s the quality. The dressing for this recipe is largely based on peanut butter. Go for a natural PB that isn’t loaded with added fats, sugar or salt. The dressing also has lovely hints of ginger which is great for digestion and amping up the flavor of this salad.
I want it to still be good the next day. C’mon, we all know many salads don’t hold up more than 24 hours. Not this recipe! I prefer to keep the dressing on the side and pour on more as I need it. The quinoa salad itself stays perfectly fine for 3 – 4 days when kept refrigerated in an air-tight container.
This recipe is a hit, no matter where I go. My vegan and vegetarian friends and mama’s all LOVE it. It’s perfect for weekday lunches, as a side or for sharing at a potluck.
Okay, okay, recipe below!
- Salad:
- 1 cup uncooked quinoa
- 2 cups shredded red cabbage (we like to chop it pretty small)
- 1 red, orange or yellow bell pepper, diced
- 1 cup shredded carrots
- 2 cups edamame beans *steam/cook ahead of time
- ½ cup chopped cilantro
- ½ cup cashews
- 3 green onions, chopped
- For the dressing:
- ⅓ cup natural peanut butter
- 1 tbsp freshly grated ginger
- 3 tablespoons soy sauce
- 1 tablespoon honey (use agave if vegan)
- 3 tablespoons red wine vinegar
- 2 teaspoons sesame oil
- 2 tsp sesame seeds *optional
- juice of one lime
- Prepare quinoa: ensure you've thoroughly rinsed and strained it. Place quinoa in a small pot with 2 cups of water. Bring to a boil and reduce heat to low, cover and simmer until tender and the liquid has been absorbed. About 15 - 20 minutes. Fluff with a fork. Set aside and cool.
- To the quinoa add in cabbage, bell pepper, carrots and edamame beans. Fold this into the the quinoa.
- Prepare the dressing by mixing together all eight ingredients. I often use a handheld blender to do this job but you could totally use your muscles and a strong fork.
- Garnish with cashews, cilantro and green onion. Serve chilled (or eat it up right away).
Food photography done by the talented Ceone Dyck. To learn more about Ceone click here or follow her on Facebook.
Don’t forget to follow Carrots and Cake on Instagram to see tiny square snap shots of my life.
– With Love, Carrots and Cake,

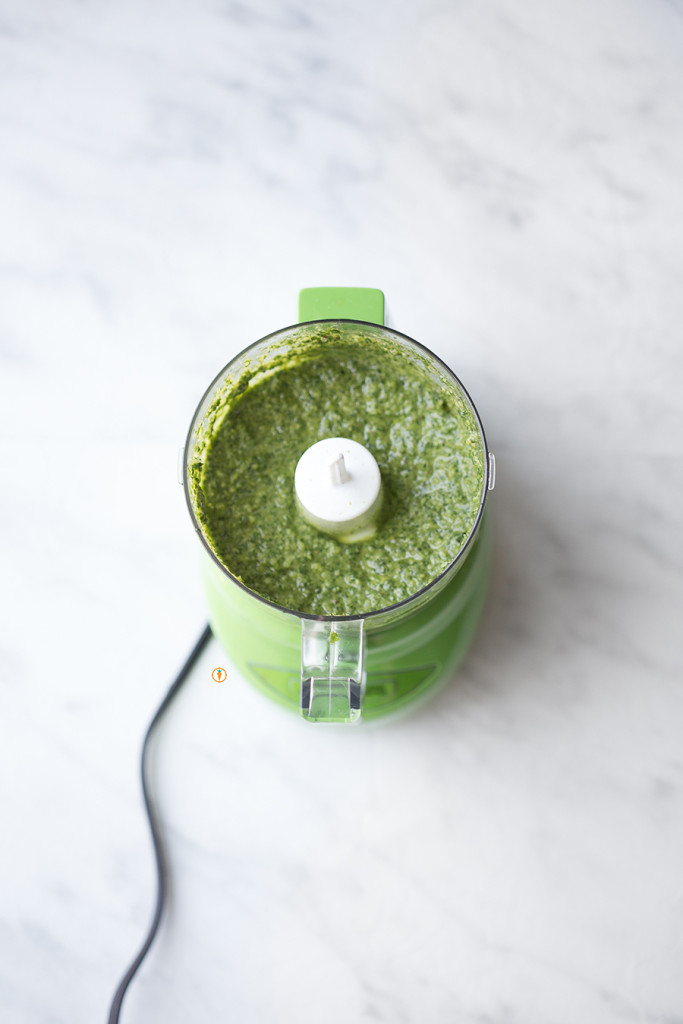
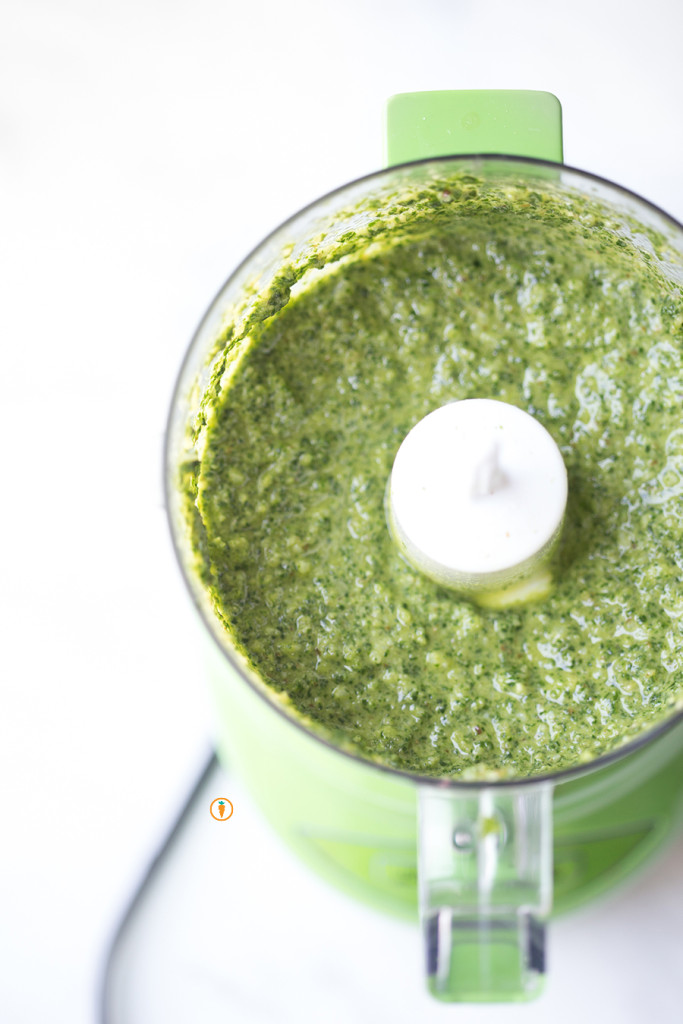
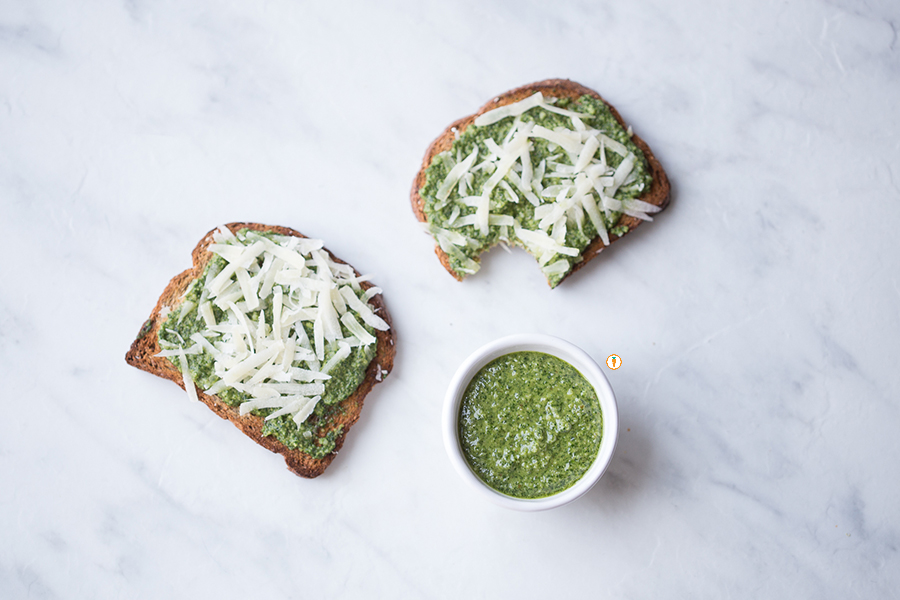 I love me some pesto. Do you? I only began experimenting with this sauce a few years ago and now it’s a pantry staple. Better yet, I’ve even ventured into making my own version of pesto. I was inspired to use kale in this recipe by my
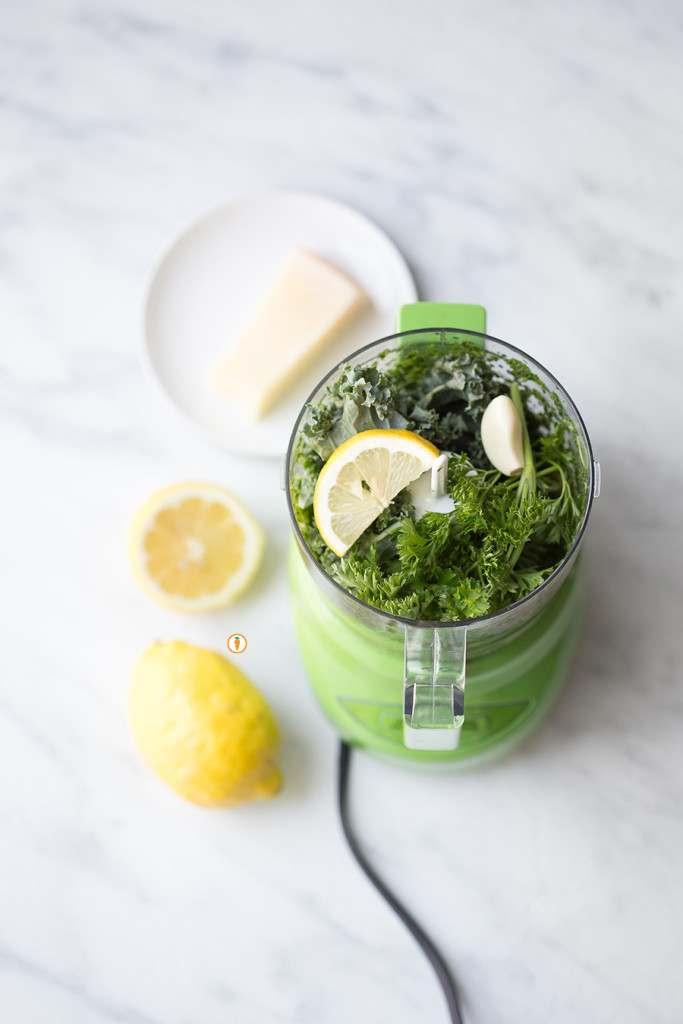

 Food photography done by the talented
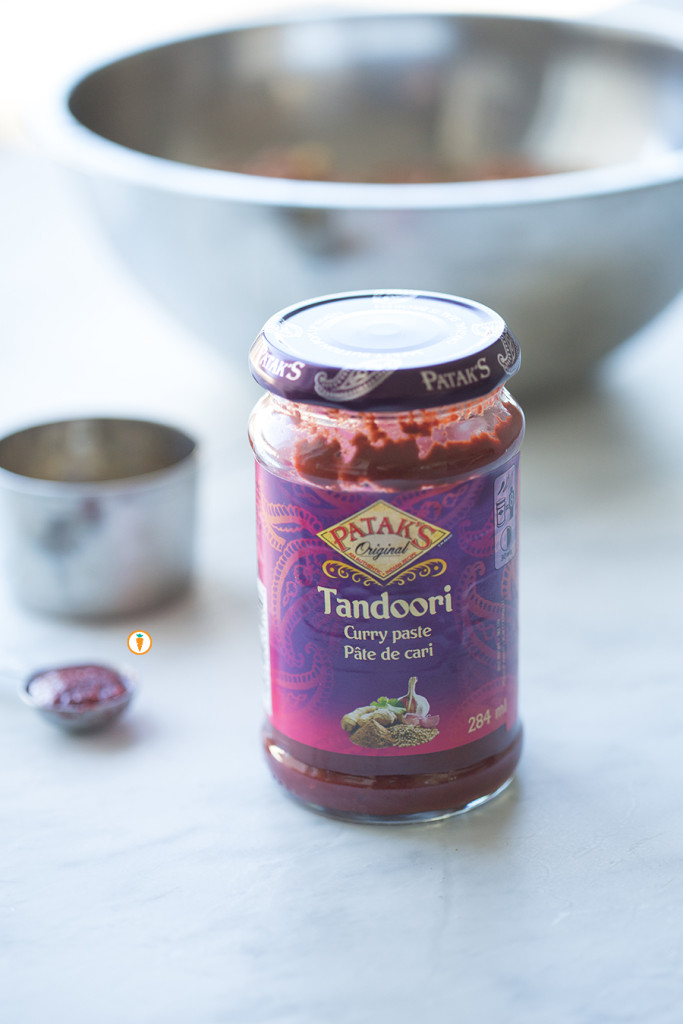
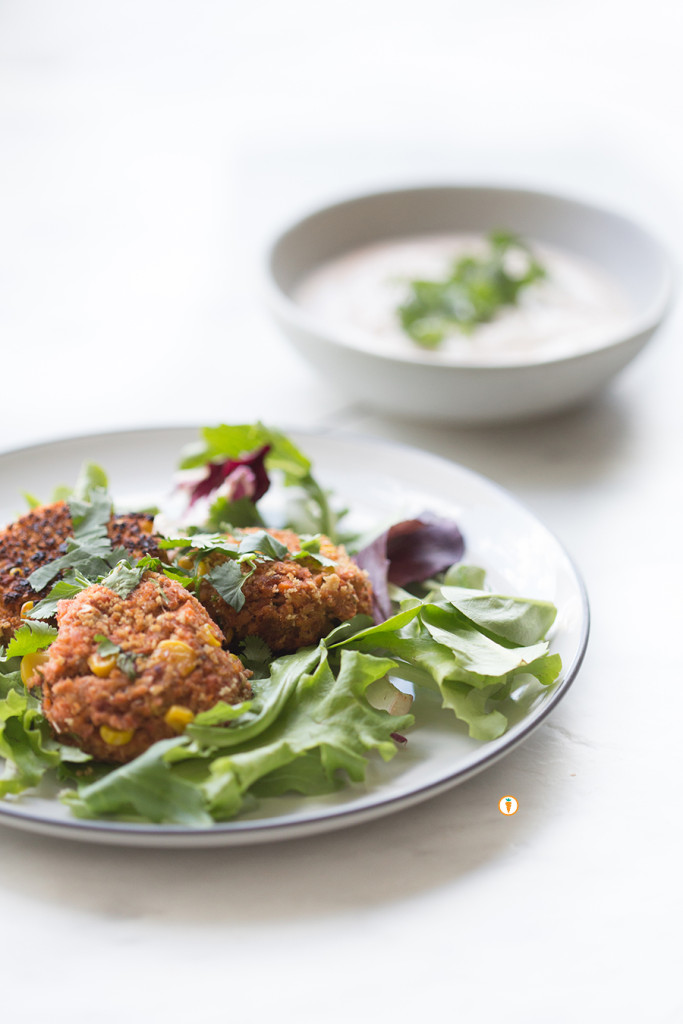
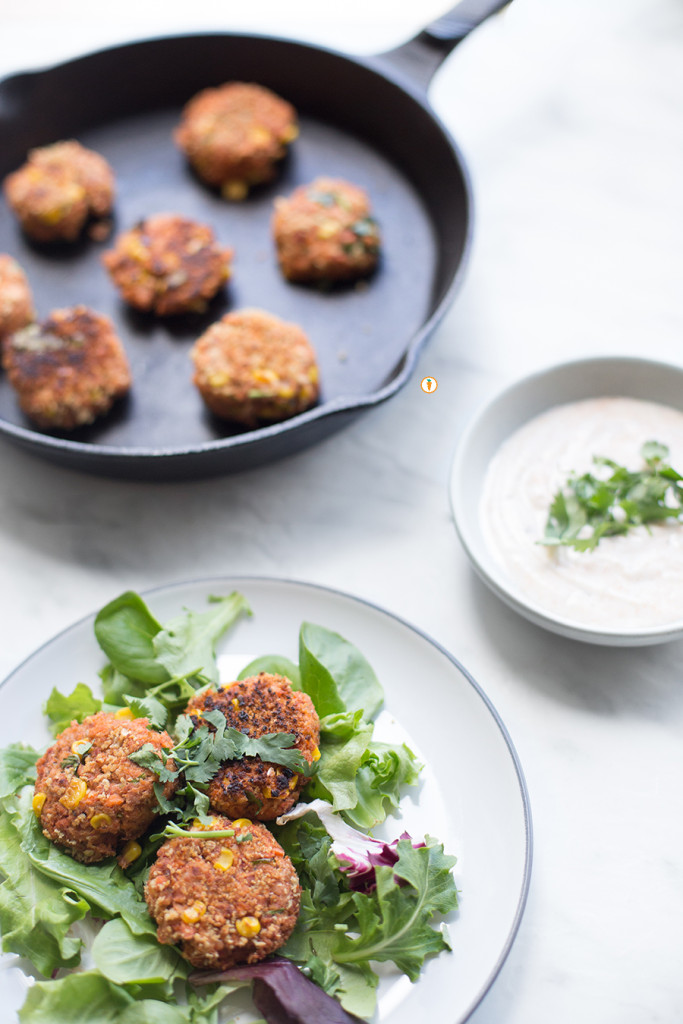
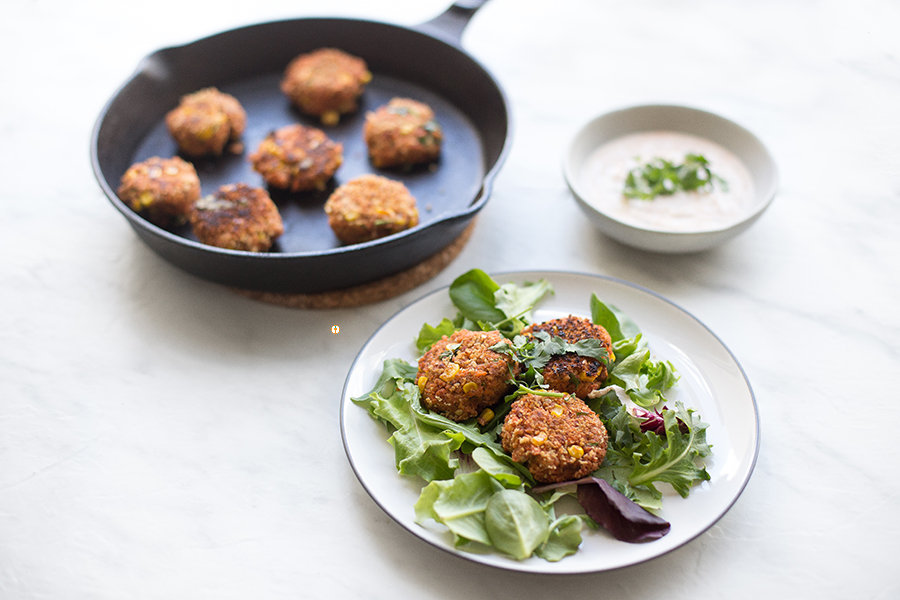 Hayyyyy friends. I’ve got another recipe to share with you today, this time, I wanted to focus on creating something that was budget friendly and easy to make. The result, tandoor spiced salmon cakes. The major protein in this recipe comes canned salmon which can typically range from $2.50 – $3.50 (Cdn) per can. A pretty sweet deal if you ask me!
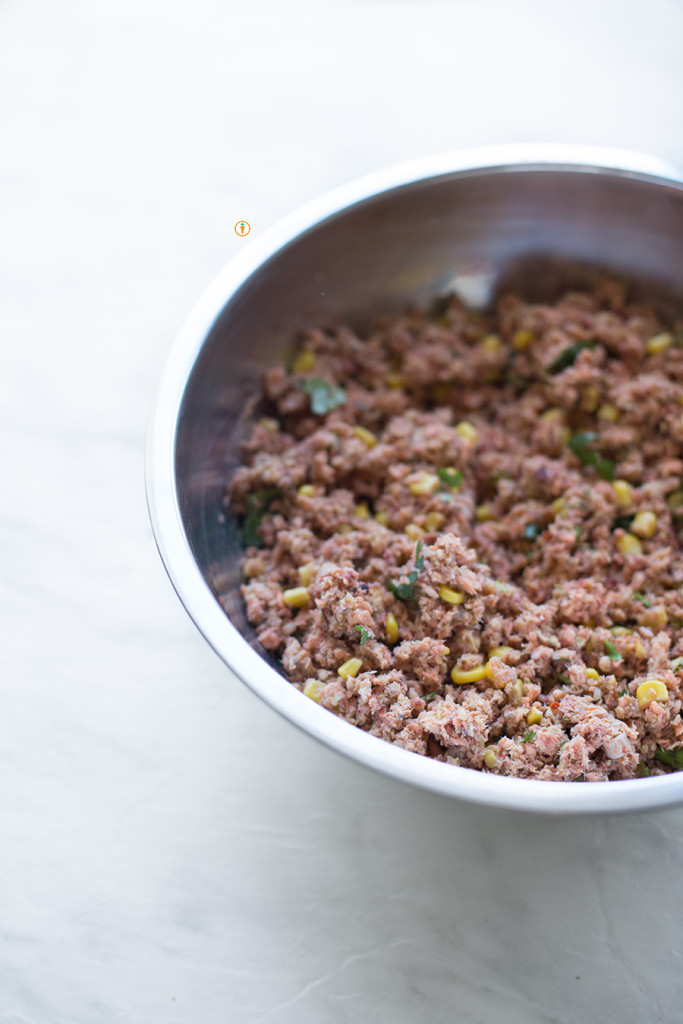
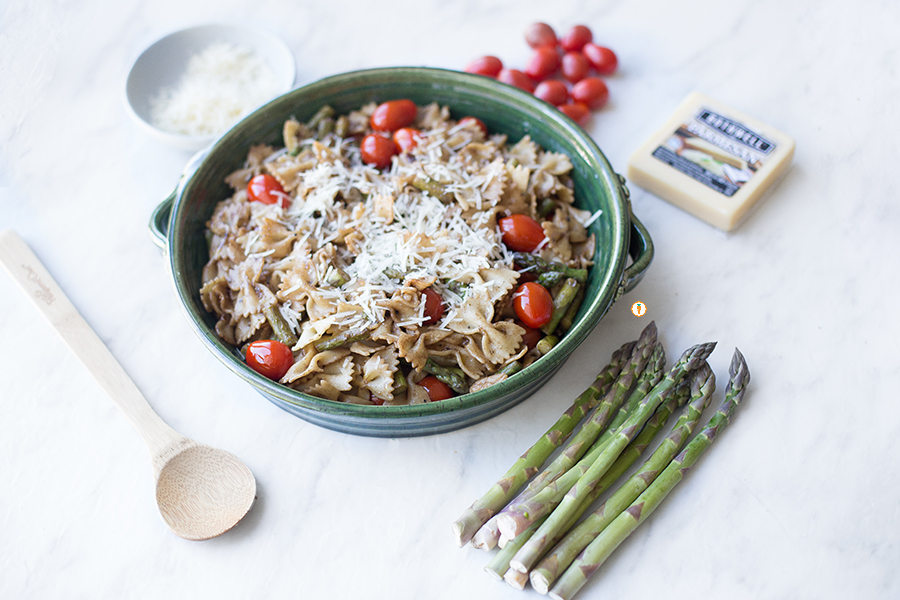
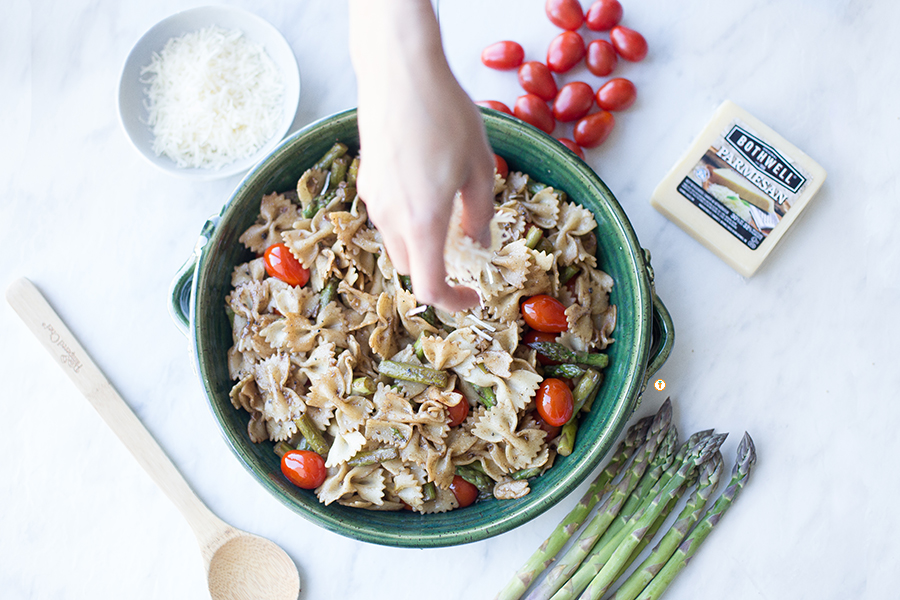 YAASSSS. Asparagus is finally in season. I remember being in my twenties and trying a spear of asparagus for the first time. I was confused. But then I had another spear. I was hooked. Since then, I’ve enjoy asparagus in many ways from grilling, steaming, wrapped in prosciutto and mixed into a summery pasta dish!
 Food photography done by the talented
 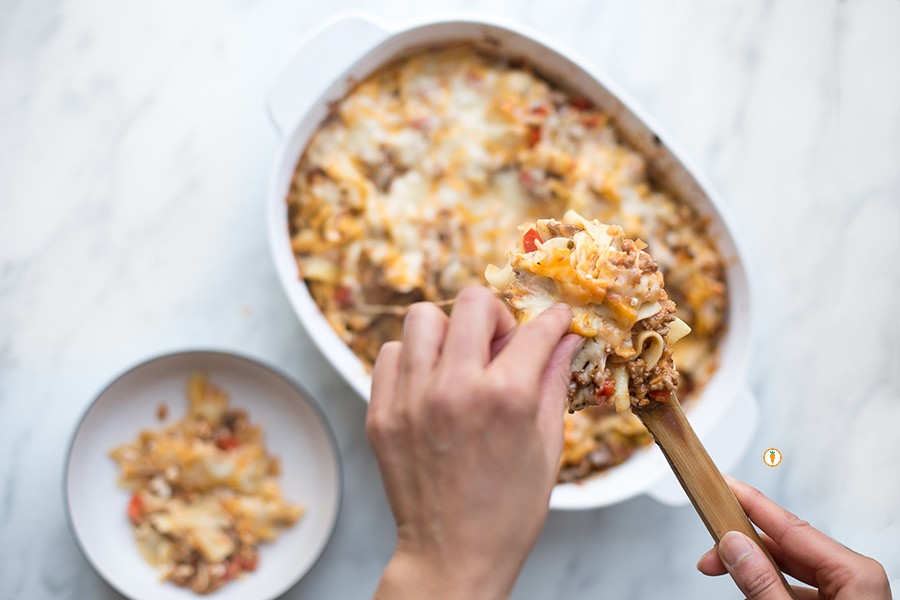 Oh haaaayyyy. Yes, that’s a casserole dish full of carbs and yes, I am a Registered Dietitian who developed this recipe. I’ve said it before: don’t be afraid of carbohydrates! This recipe features a classic egg noodle. Because it’s difficult to trace down a wholewheat version of this popular noodle I decided to embrace it’s “white version”. Knowing it would be lower in fibre, I quickly decided that I could:
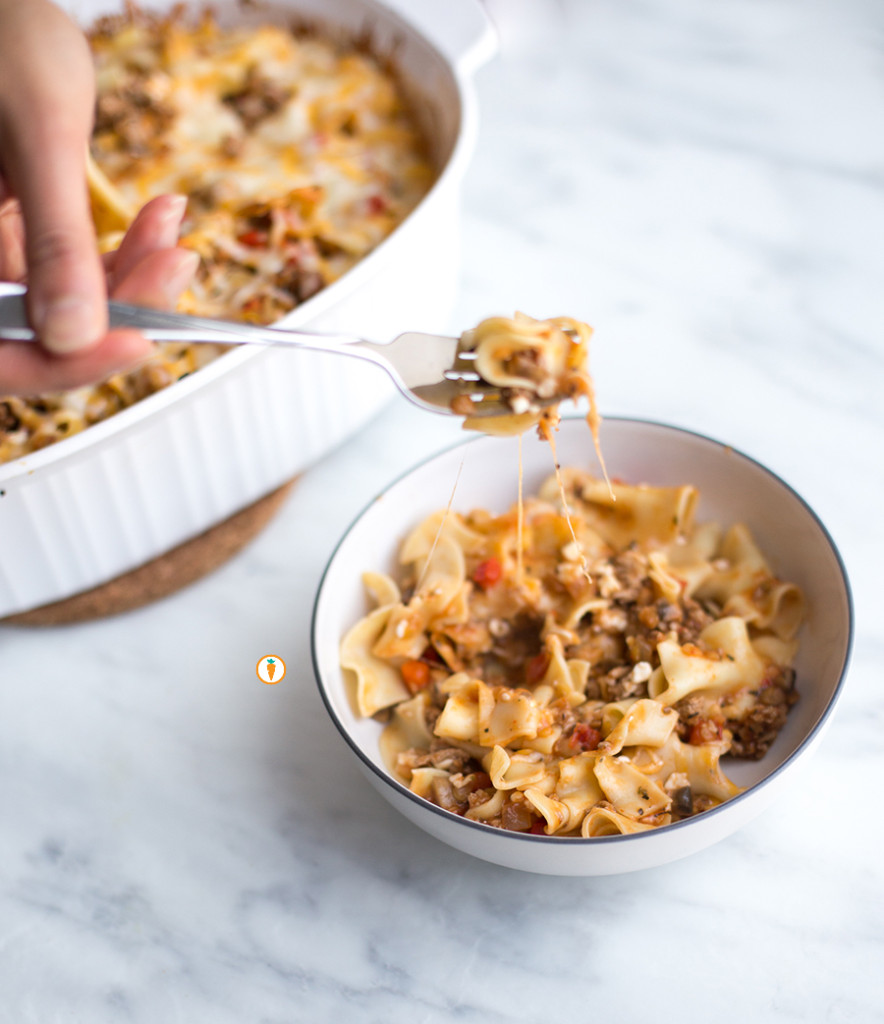

 Oh, hello! Welcome back – I hope you enjoyed learning about whole grains on our
  Okay, I think you’re sold.
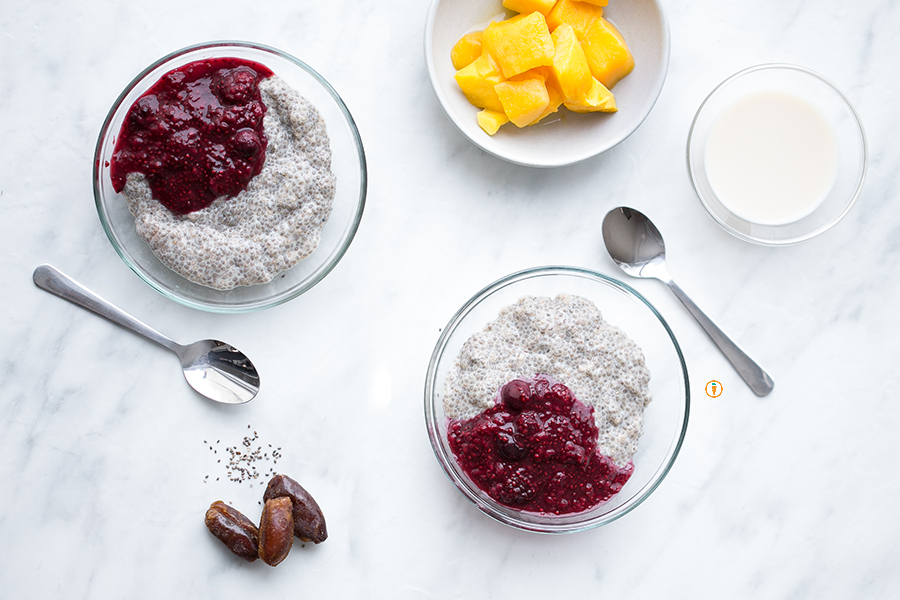
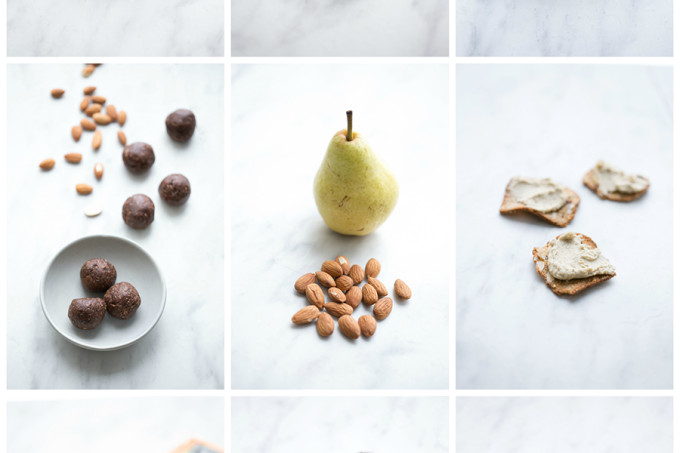
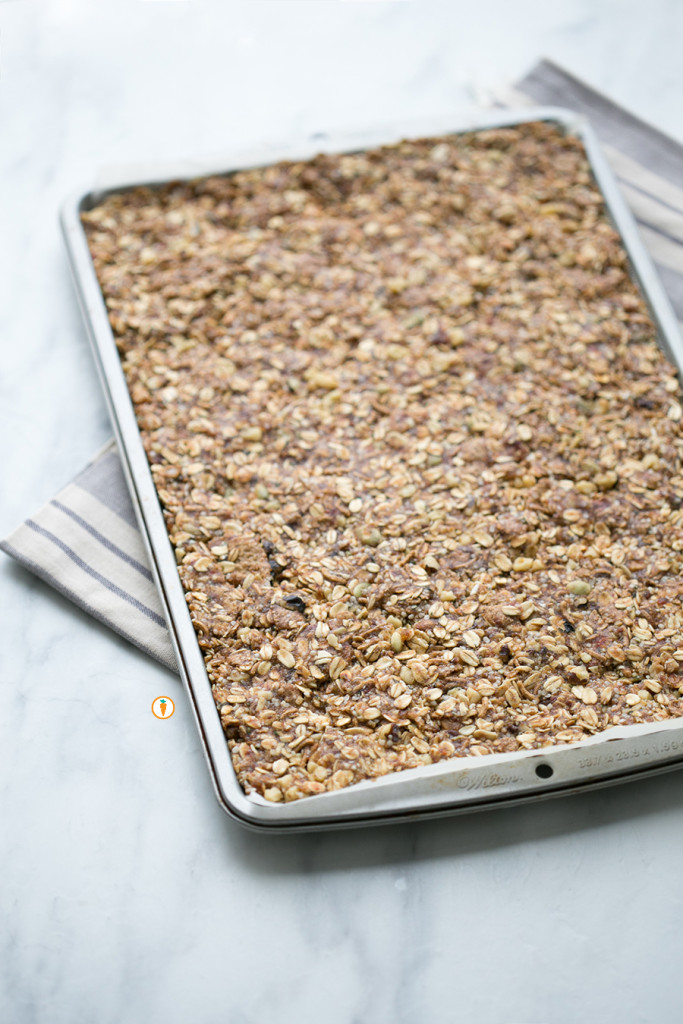
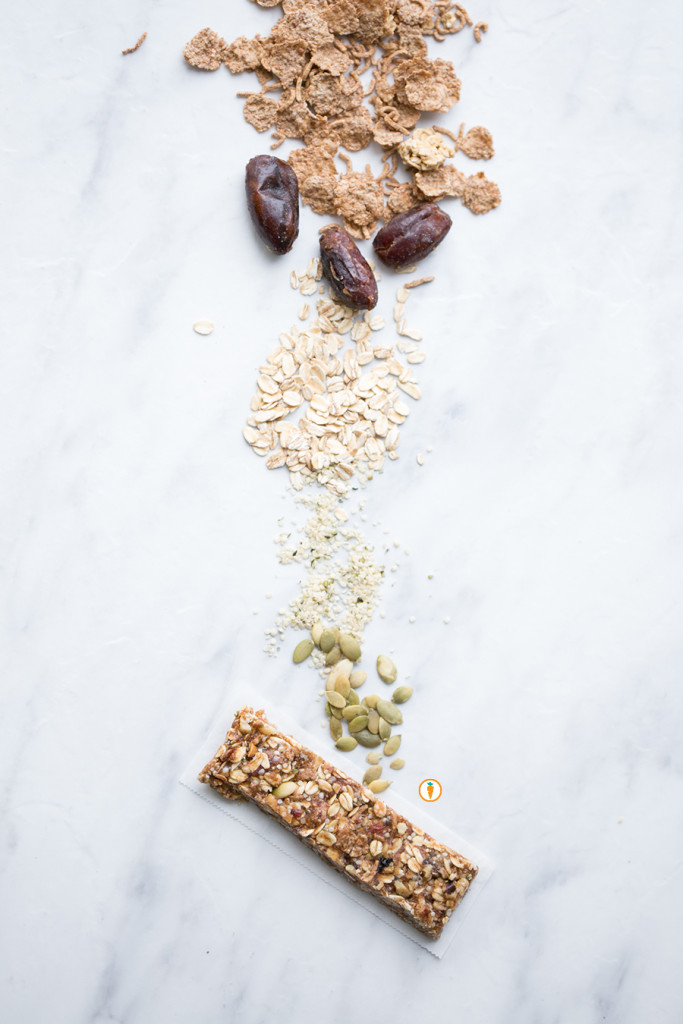
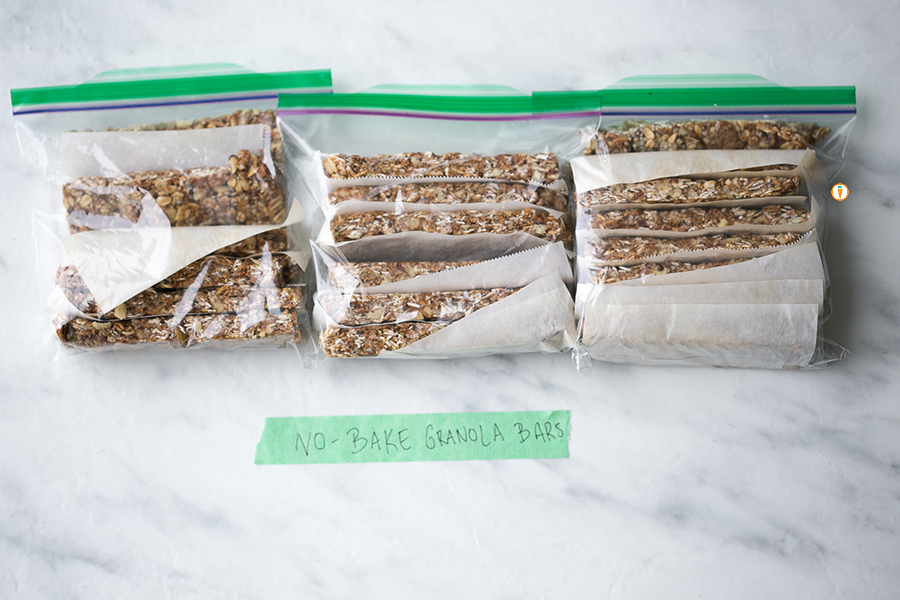
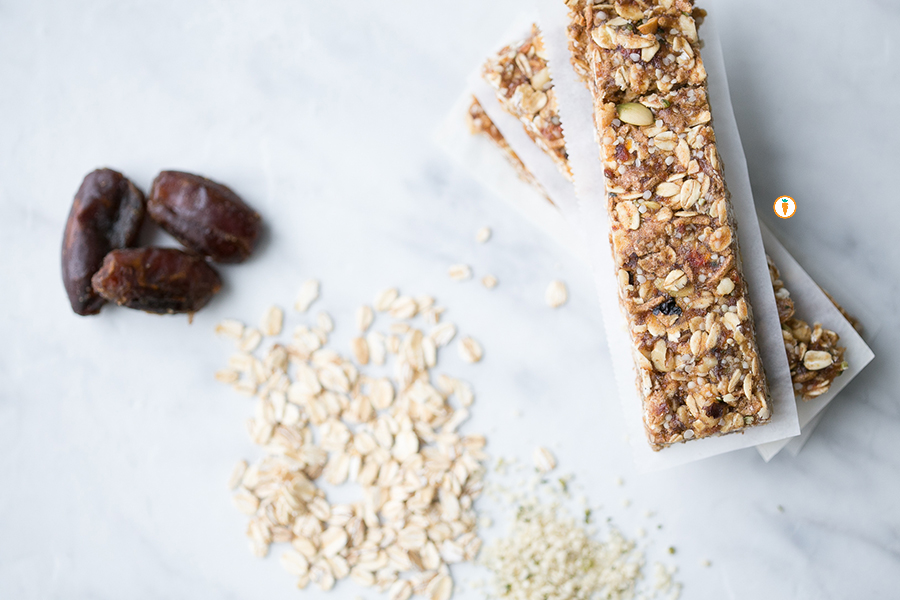 I love a good granola bar. It’s basically like having portable nutrition in your hand! Mind you, a good quality product can often be hard to spot. Most large-chain grocers have entire aisles dedicated to this iconic food item. The tough part is distinguishing which one truly is a granola bar versus which one is…well..basically a chocolate bar.
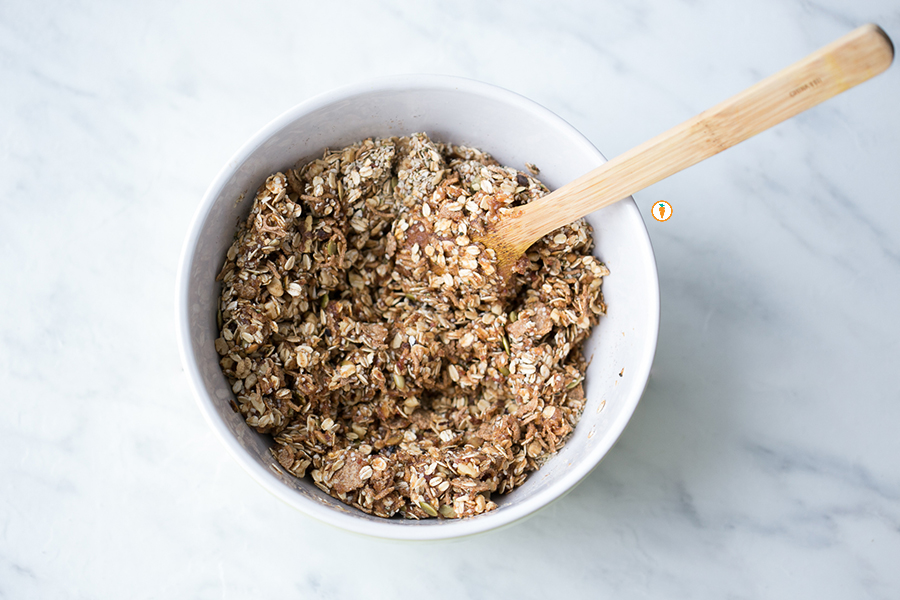
 Woah. How did that happen? Today marks the second birthday for Carrots and Cake Balanced Nutrition Consulting. What was supposed to initially be a “lets try to see five clients per month” kinda gig has turned into visiting with at least twenty clients monthly, blogging, recipe development, writing for cool food producers and as of late, mentoring Nutritional Science students that are hoping to get their feet wet in the dietetic industry. By the way, all of this on top of a nearly full time job in an area of clinical practice I love.
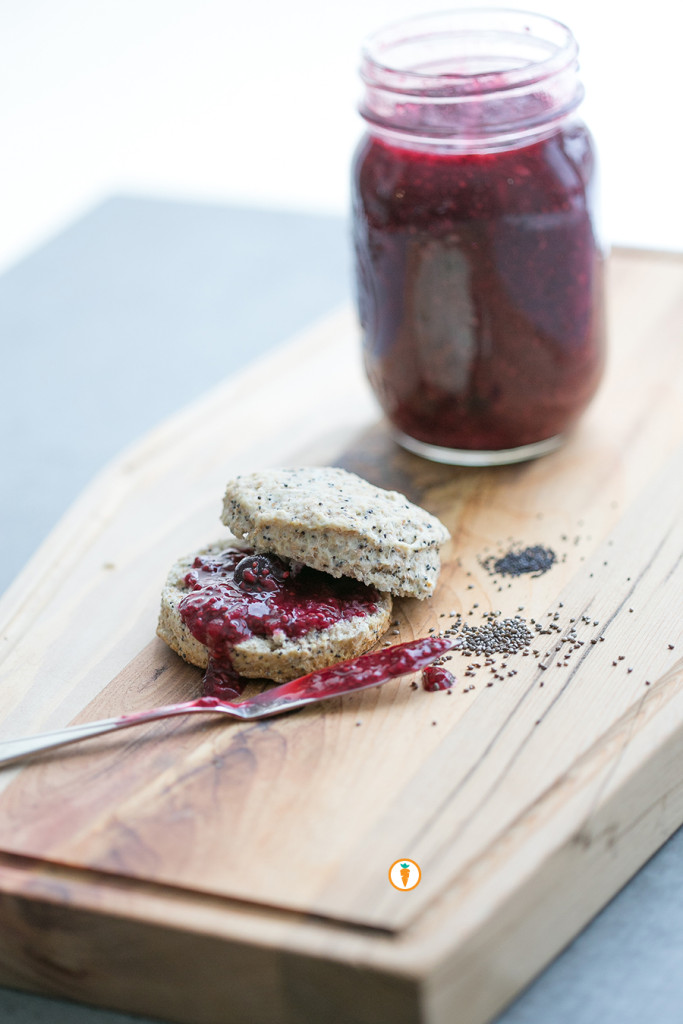
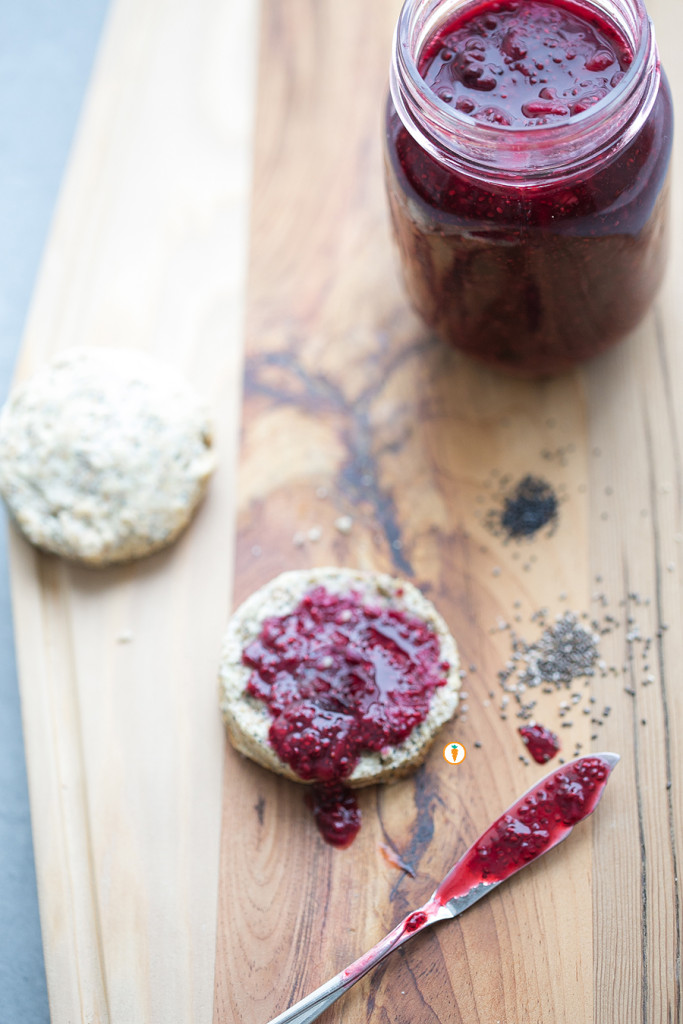
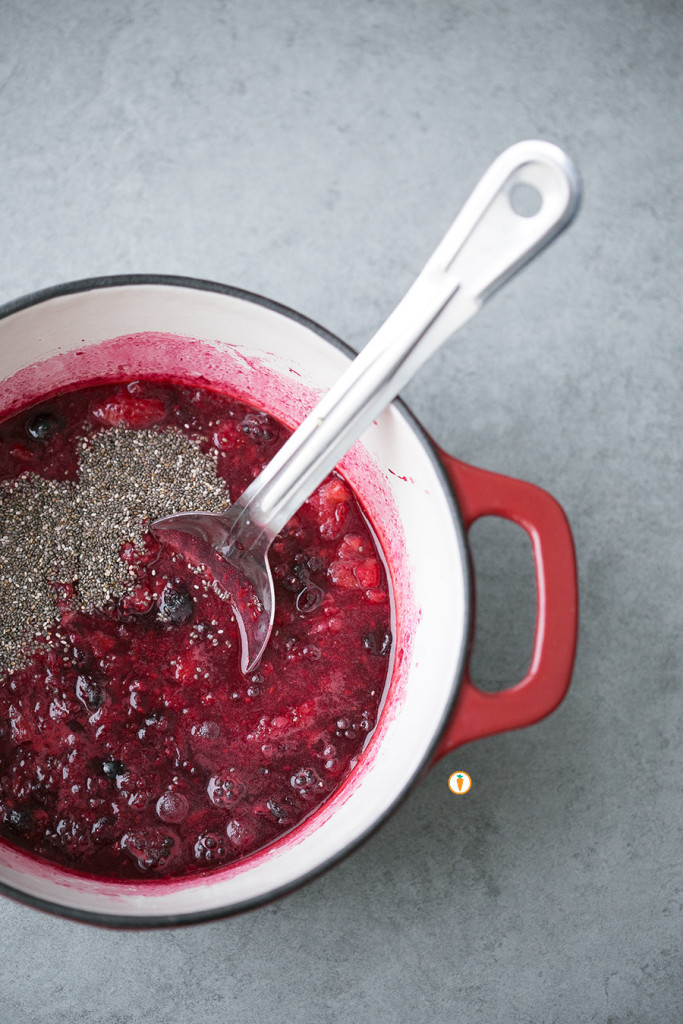
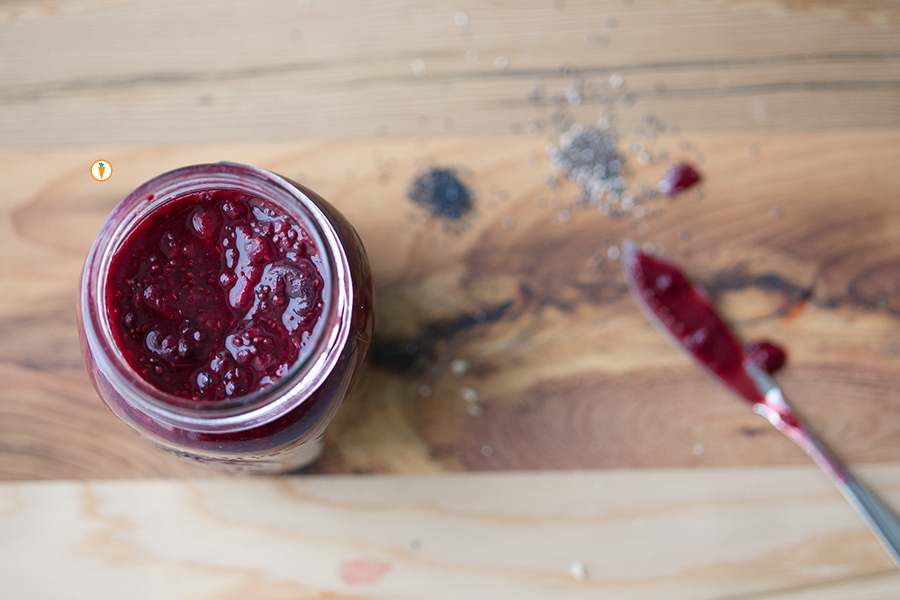
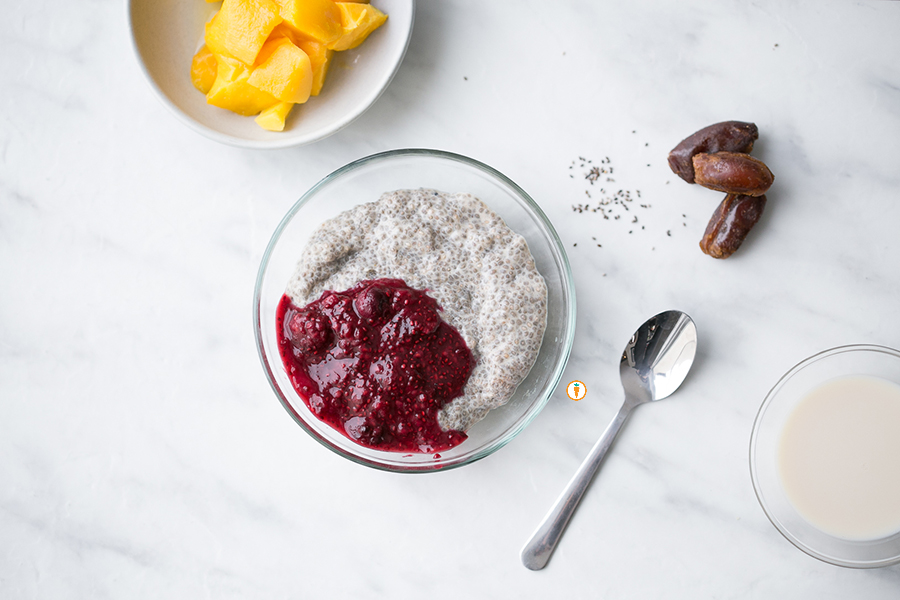
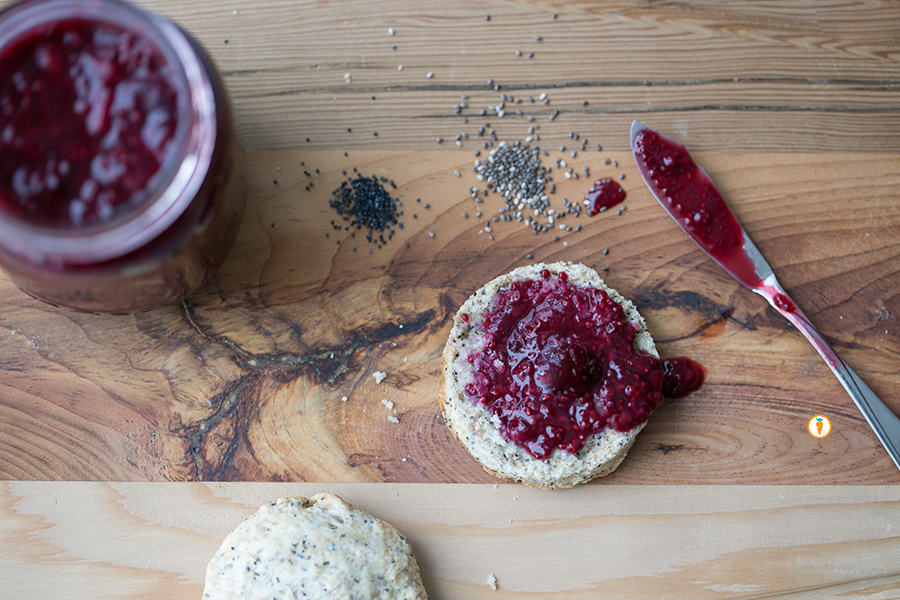 I remember the first time I made a berry sauce. It was for a brunch I was hosting and waffles were on the menu. It was some random recipe that Mr. Google found for me. It called for 1 cup of juice and 1 cup of sugar for only two cups of berries. Jesse whiz, that is A LOT of sugar. What’s a Dietitian/Food Nerd to do?