Chia Seed Pudding

Nita Sharda, Carrots and Cake
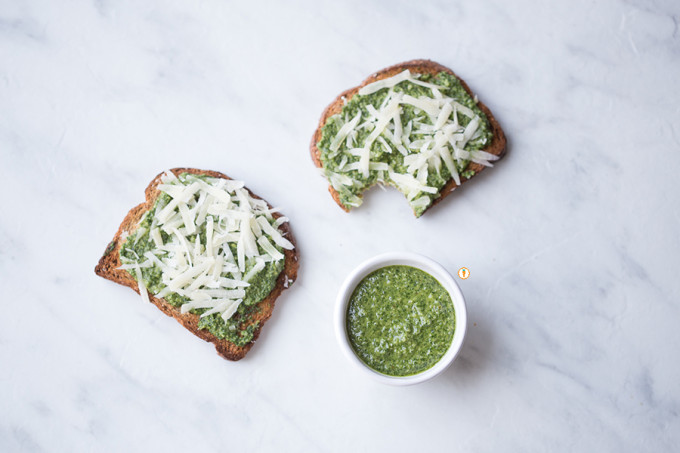
Oh, hello! Welcome back – I hope you enjoyed learning about whole grains on our last post. We’re going to take a break from nutrition education and share this uber simple recipe with ya’ll. You’ve previously seen me use and talk about the health benefits of chia seeds, like when I showcased my version of a 5 Ingridient Berry Sauce. When I heard my food friends talk about chia seed pudding, I was totally hooked and needed to give it a try.

Here’s what I love in particular about this recipe:

  • calls for only 5 ingridients
  • offers up 10 grams of fibre
  • source of calcium
  • source of protein
  • allows for customization
  • naturally gluten free
  • no cooking, just stirring

Nita Sharda, Carrots and CakeOkay, I think you’re sold.
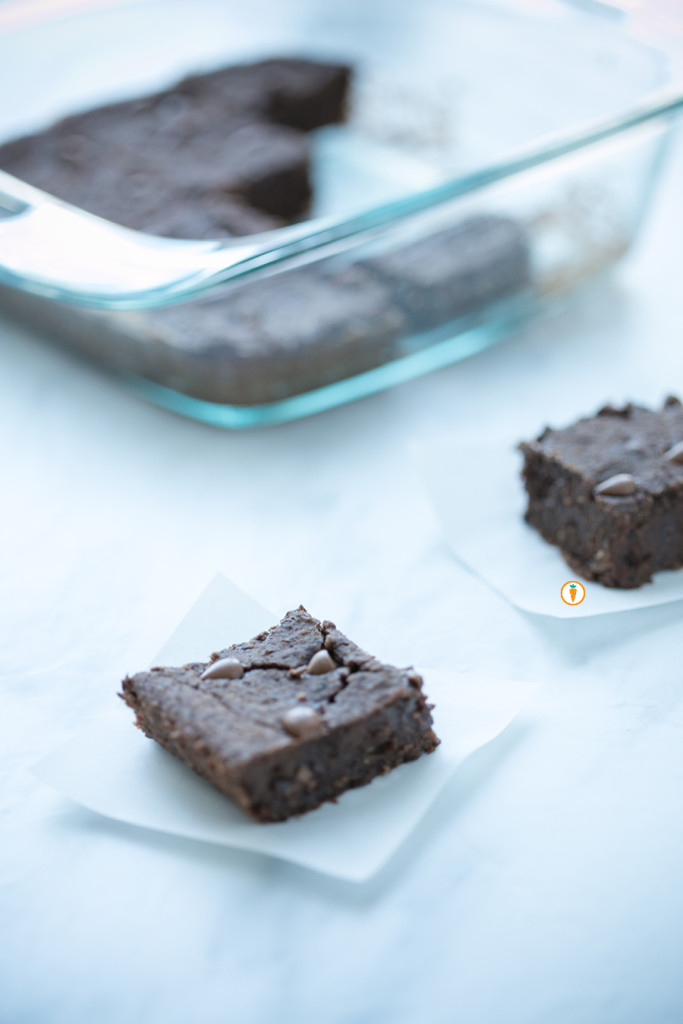
5.0 from 1 reviews
Chia Seed Pudding
 
Prep time
Total time
 
Serves: 2 - 3
Ingredients
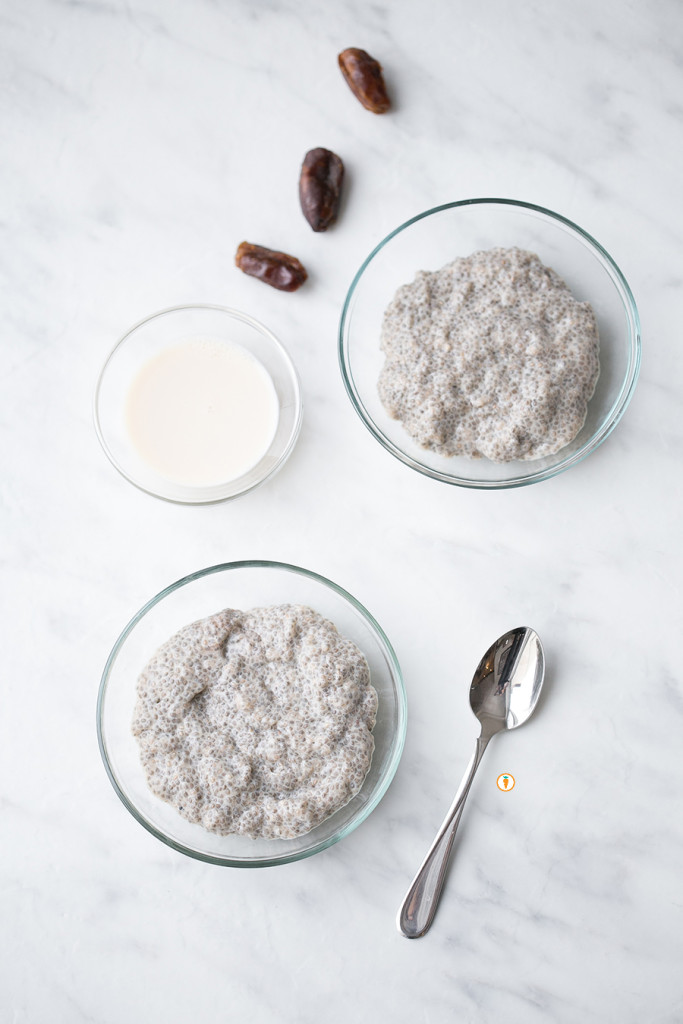
  • ⅓ cup chia seeds (black or white)
  • 1½ cups milk (dairy or dairy free)
  • 2 tbsp runny honey or maple syrup
  • 1 tsp vanilla extra
  • 1 tsp cinnamon
Instructions
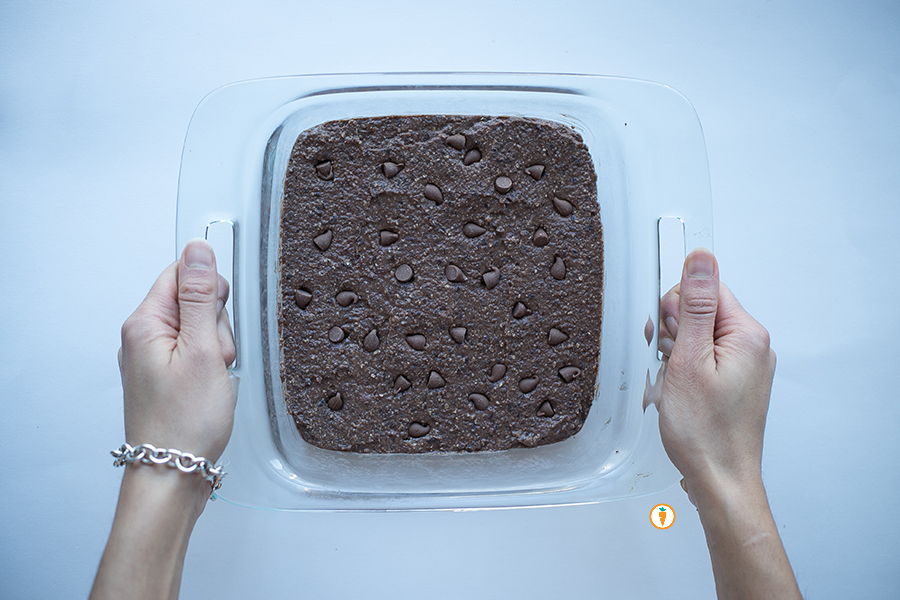
  1. Place all ingredients into a bowl. Mix very, very, very well and cover with saran wrap.
  2. Place bowl into the fridge for thirty minutes. Stir again.
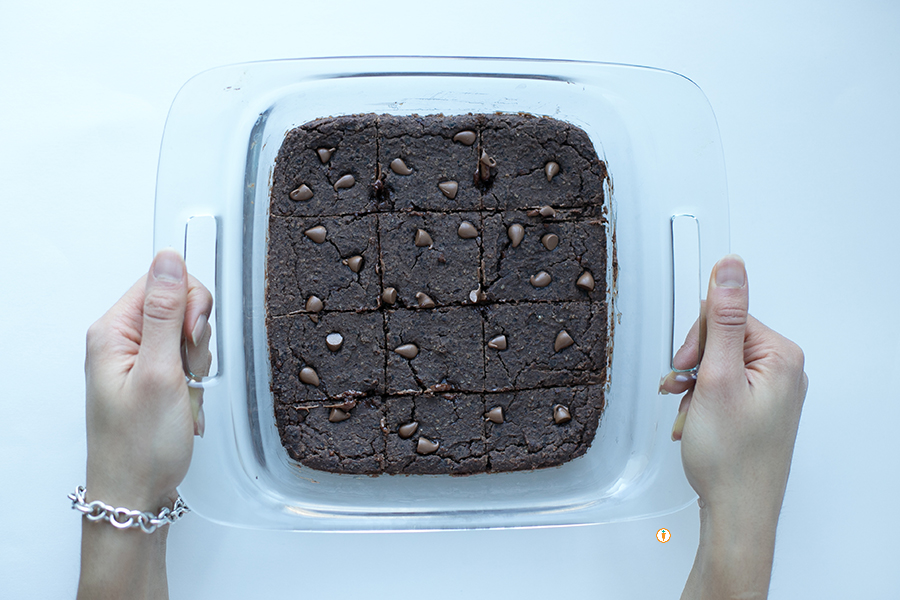
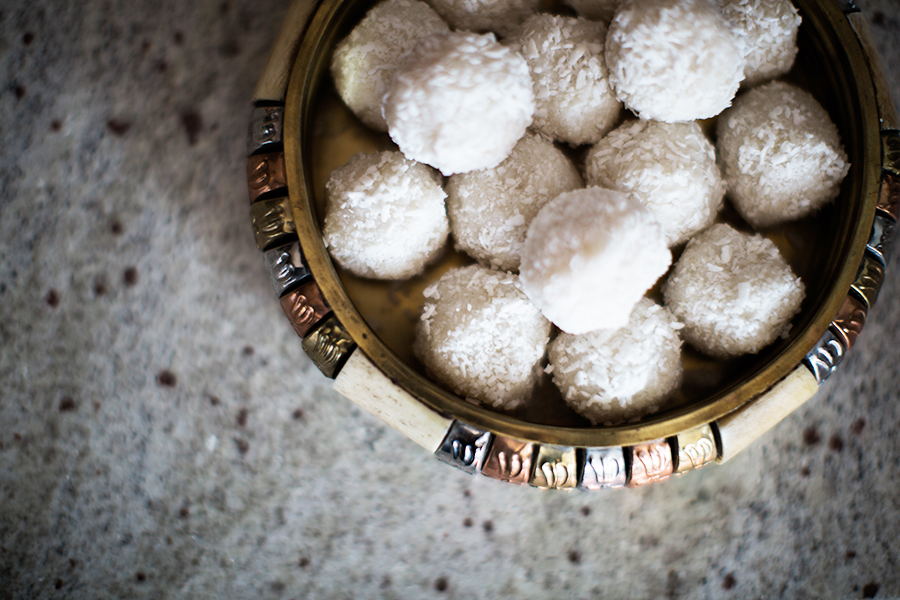
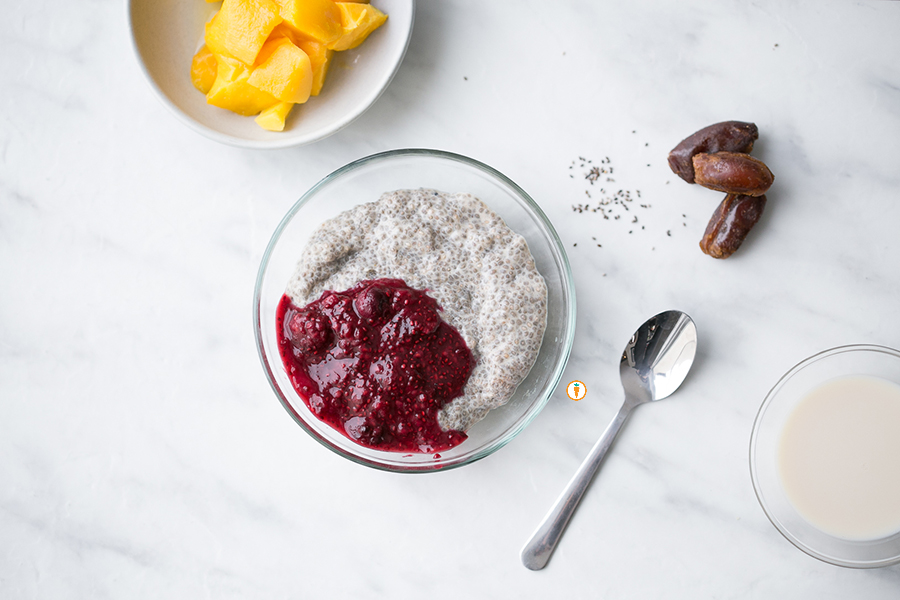
  3. Return back to the fridge for at least another 2 - 3 hours. The result is a thick pudding similar to rice pudding.
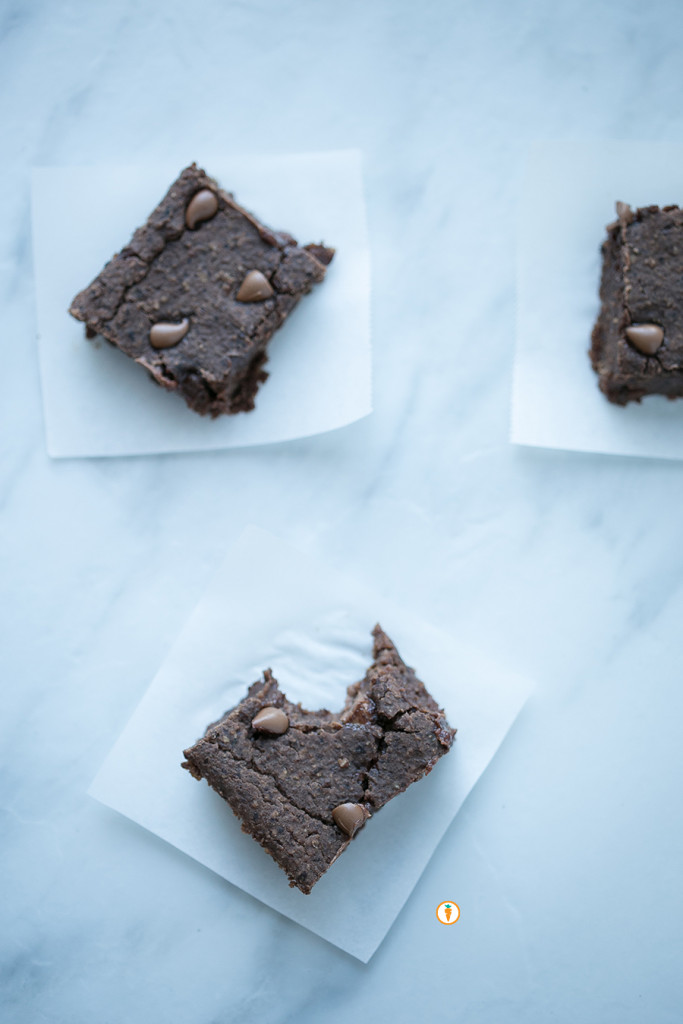
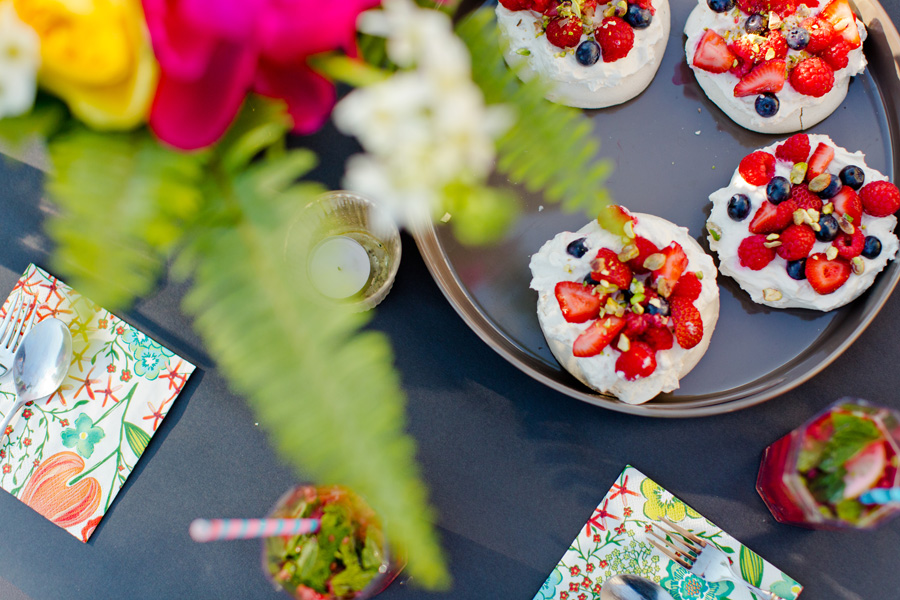
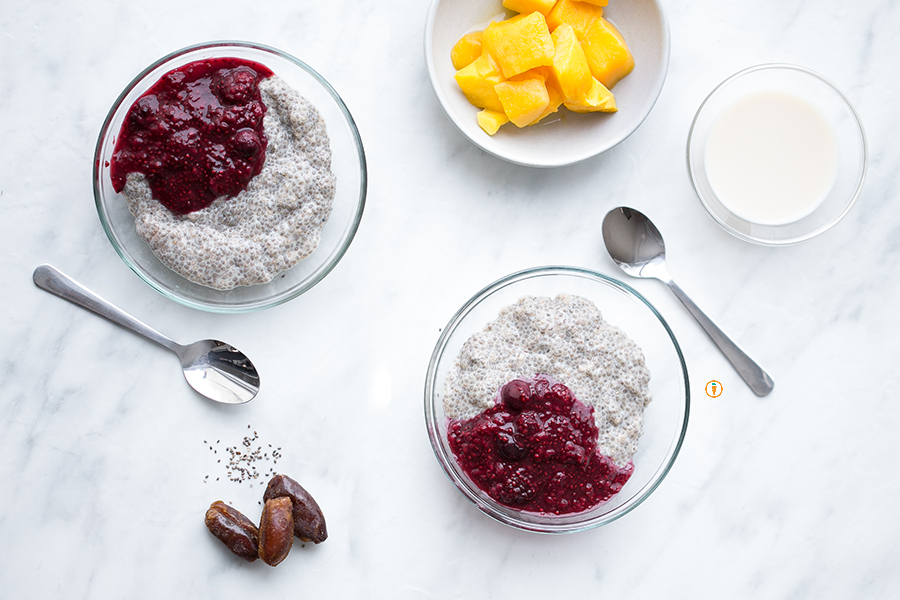
  4. Top with additional fruit if you wish. I love it with tart raspberries, mango or kiwi.

Nita Sharda, Carrots and Cake
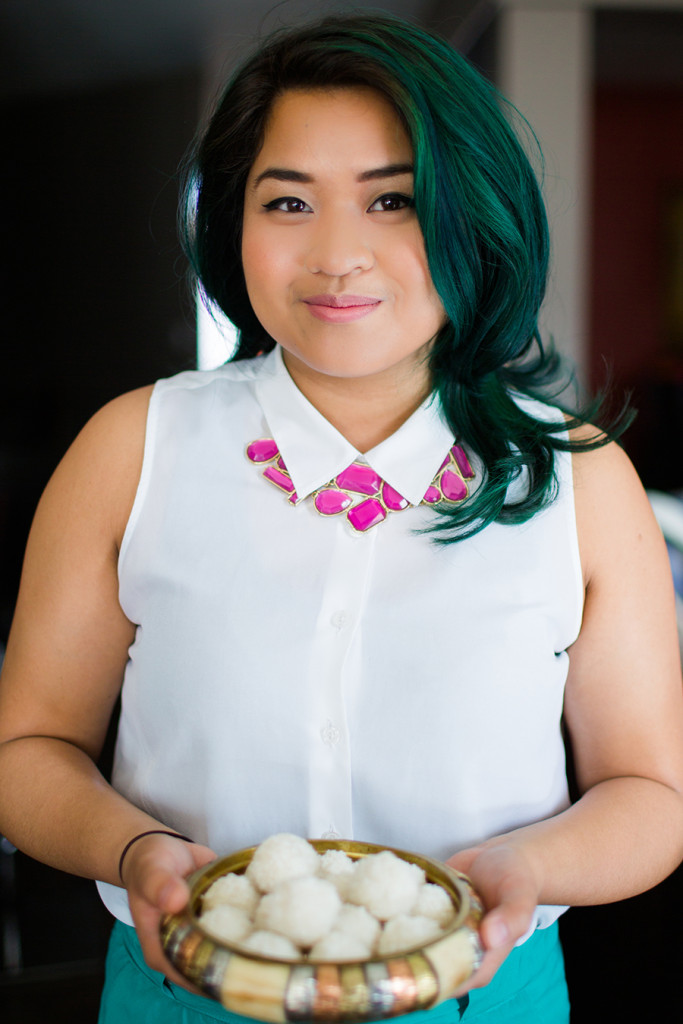
Food photography done by the talented Ceone Dyck. To learn more about Ceone click here or follow her on Facebook.

Don’t forget to follow Carrots and Cake on Instagram to see tiny square snap shots of my life.

                 – With Love, Carrots and Cake,

Carrots and Cake Nita Sharda

Black Bean Brownies

Carrots and Cake, Nita Sharda

Seriously, yummy.

Earlier this week we talked to you about how excited we are that 2016 is the International Year of the Pulse. Hip hip hooray! In today’s recipe post we’re sharing an exciting brownie recipe that uses black beans. Yes, you read that right: BLACK BEANS. Please, don’t be scared – the results are amazing and dddddelish.

If you’re also making it a goal to experiment with new grains you’ll note that this recipe is actually wheat free. Instead, it uses oats. The original inspiration came from a fellow food blogger who we love, Chocolate Covered Katie. Our contributor Ceone had also made variations of the recipe in the past, so we wanted to share-share (what do they say? Sharing is caring). We made a few adaptations such as using applesauce to reduce the fat content and also decided to finely process the oats a bit more. The result is a brownie that resembles fudge but is still soft, a little gooey and chocolatey. All good things people. All good things.

From a nutrition standpoint, what I love about this dessert option is that it offers my clients an opportunity to still practice balance. In comparison to commercial or boxed brownies, this brownie is fairly low in sugar, offers up some fibre and protein which in turn will help you feel full for longer (that’s because fibre and protein are satiating). It’s totally the type of treat (or every day food) that really can be good for you. 

Carrots and Cake, Nita Sharda

All mixed up.

Before it goes into the oven.

Before it goes into the oven.

Carrots and Cake, Nita Sharda

After it’s been baked.

Okay, okay. Enough with the chatter. Recipe below:

Black Bean Brownies
 
Prep time
Cook time
Total time
 
Serves: 12
Ingredients
  • 1½ cups black beans, drained and rinsed
  • 2 tbsp cocoa powder
  • ½ cup quick oats or rolled oats
  • ¼ tsp salt
  • ⅓ cup maple syrup
  • ¼ cup unsweetened applesauce
  • 1 tbsp canola oil
  • 2 tsp vanilla extract
  • ½ tsp baking powder
  • ½ cup chocolate chips
Instructions
  1. Preheat oven to 350 F.
  2. Place oats into the bowl of a food processor and pulse until it resembles coarse flour.
  3. Add remaining ingredients except chocolate chips into a food processor and blend until completely smooth.
  4. Fold the chocolate chips into the batter.
  5. Place mixture into a greased 8×8 pan.
  6. Optional: sprinkle extra chocolate chips over the top.
  7. Cook the black bean brownies 20 minutes. Allow it to cool and set at least 10 minutes before trying to cutting into it. If they still look a bit undercooked, you can place them in the fridge overnight and they will magically firm up! Makes 12 brownies

1BlackBeanBrownies_squares

These photos  were taken by Ceone Dyck, 4th Year Human Nutritional Sciences student. To learn more about Ceone click here or follow her on Facebook.

                 – With Love, Carrots and Cake,

Carrots and Cake Nita Sharda

#GNI Indian Style: Fudgy Coconut Ladoo

Carrots and Cake, Nita Sharda

Yes, dessert first! I’ve mentioned in previous posts that I prefer to always let my guests know that a dessert will be served. If the dessert is all set to be eaten, I don’t mind plating and having it available to my guests to eat. First. I know what you’re thinking: won’t they fill up on dessert and not eat the meal? Maybe, but maybe not.

Here are a few reasons why I choose to serve dessert first. For starters: I hate it when guests choose not to eat dessert because maybe they reached their “fullness” cue shortly after dinner. That’s fair. And, I’m not one to force anyone to have dessert because chances are, it may not make them feel well (even if it happens to be a low calorie dessert such as fruit). Secondly: I believe in offering people choice. Simple as that. And lastly, for those caring for young children, serving dessert first or with a meal takes the reward factor out. Children shouldn’t be coerced into eating their meat, veggies, milk etc because they’ve got a dessert waiting for them. Serving dessert with a meal and avoiding using it as a reward are big leaps of faith, but the return is amazing.

MOVING ON.

For the GNI my friend Courtney Rae of ‘The Fig Tree’ blog brought two items. One of them happens to be this easy and yummy Fudgy Coconut Ladoo. Imagine a ball of coconut goodness with a touch of cardamom that hits your sweet spot but without driving you into a sugar crash. The original recipe was created by a lovely vegan food blogger, Richa. She has recently launched her first cookbook titled Vegan Richa’s Indian Kitchen: Traditional and Creative Recipes for the Home Cook. If you want to get your hands on this baby, click here. In the mean time, whip these babies up yourself by clicking here to visit the recipe details on Richa’s website

Spotted! Christine and Jennifer Ashley (‘Pretty Little Details’) with the uber delicious ladoos. They were all gone!

Nita Sharda, Carrots and Cake

Nita Sharda, Carrots and Cake

Before you leave, check out this fun stop motion video about the girls night in I hosted, trust me you, you’re going want to see it! It’s pretty darn cute if I don’t say so myself!

– With Love, Carrots and Cake,

Carrots and Cake Nita Sharda

GNI Feature – Very Berry Pavlova

Nita Sharda, Carrots and Cake

Very Berry Pavlova

Pavlova – I was first introduced to this delicate dessert by a dear friend of mine. She’s the kind of friend who, no matter what, will always handcraft a dessert when we visit. No, she’s not the cake-mix kinda gal. She’s the whip your own whipping cream, chop berries and use a springform pan kinda woman. I like her. Okay I lied, I love her.

If you haven’t yet tried pavlova, you’re missing out. I prefer homemade versions over those sold in stores or at other restaurants. It’s a dessert that really needs to be enjoyed when it’s fresh. Each mouthful is packed with sweetness (but not too much), a cool touch of whipping cream and burst of fresh flavor from the fruit you use. I added pistachios to my final product to add a bit of a crunch, and color. If you want to go nut-free, by all means, go for it!

Nita Sharda, Carrots and Cake

Now, when it comes to dessert, this is full-fat, full-sugar. There’s no “lightening” up when it comes to pavlova (or atleast I haven’t tried). It’s an all-in kind of dessert. Does that make me feel badly? Of course not. Pavlova takes a gentle touch and I’d much rather prefer to spend as much time enjoying it as I took to prepare it. In situations like this, I always allude to something Michael Pollan wrote about in his book, Food Rules. He mentioned that french fries are often enjoyable. But, when you take time to prepare them by hand it can become quite labour-some. When you’re feeding a family that can amount to a lot of time and energy to hand-prepare fries if you’re serving them several times a week. So would you necessarily make french fries regularly? Probably not. But once every 6 – 8 weeks, sure! That’s how I feel about pavlova.

I was never raised in a family that placed emphasis on desserts. I remember my parents serving something sweet only “once in a while” in between birthdays. Looking back, since discovering pavlova roughly four years ago, I’ve probably only made it a handful of times. So, like I said, I go all in.

I hope you have the opportunity to enjoy this recipe and dessert as much as I do. It’s a definite crowd pleaser. You can bake it into what shape or size you wish. I changed things up by making a 4″ pavlovas. The recipe was sourced from The Joy of Baking website. And fair warning, prepare to make the pavlova 4-5 hour prior to serving, you’ll need time for it to cool slowly in the oven. See below:

Very Berry Pavlova
 
Prep time
Cook time
Total time
 
Serves: 6-8
Ingredients
  • Pavlova
  • 4 large egg whites
  • 1 cup superfine sugar
  • ½ tsp pure vanilla extract
  • 1 tsp white vinegar
  • 2 tsp cornstarch
  • Topping:
  • 1 cup whipping cream
  • 1½ tbsp granulated white sugar (or to taste)
  • ½ tsp pure vanilla extract
  • Fresh fruit of your choice- kiwi, strawberries, raspberries, blackberries, passion fruit, peaches, pineapple, mango etc.
Instructions
  1. Preheat oven to 250 degrees F and place rack in center of oven. Line a baking sheet with parchment paper and draw a 7 - 8 inch circle on the paper. Turn the parchment paper over so the circle is on the reverse side.
  2. In the bowl of your electric mixer, with the whisk attachment, beat the egg whites on medium speed until they hold soft peaks. Start adding the sugar, a tablespoon at a time, and continue to beat, on high speed, until the meringue holds very stiff and shiny peaks (about 5-6 minutes). Test to see if the sugar is fully dissolved by rubbing a little of the meringue between your thumb and index finger. The meringue should feel smooth, not gritty. If it feels gritty the sugar has not fully dissolved so keep beating until it feels smooth between your fingers.
  3. Beat in the vanilla extract.
  4. Sprinkle the vinegar and cornstarch over the top of the meringue and, with a rubber spatula, gently fold in.
  5. Spread the meringue inside the circle drawn on the parchment paper, smoothing the edges, making sure the edges of the meringue are slightly higher than the center; you want a slight well in the center of the meringue to place the whipped cream and fruit.
  6. Bake for 60 to 75 minutes or until the outside is dry and is a very pale cream color. Turn the oven off, leave the door slightly ajar, and let the meringue cool completely in the oven.
  7. The outside of the meringue will feel firm to the touch, if gently pressed, but as it cools you will get a little cracking and you will see that the inside is soft and marshmallowy.The cooled meringue can be made and stored in a cool dry place, in an airtight container, for a few days.
  8. Just before serving gently place the meringue onto a serving plate.
  9. Whip the cream in your electric mixer, with the whisk attachment, until soft peaks form. Sweeten with the sugar and vanilla and then mound the softly whipped cream into the center of the meringue.
  10. Arrange the fruit randomly, or in a decorative pattern, on top of the cream. Serve immediately as this dessert does not hold for more than a few hours.

A few more drool-worthy photos by: Samba Joy Photo & Art.

Nita Sharda, Carrots and CakeNita Sharda, Carrots and Cake

Nita Sharda, Carrots and Cake

Here we go, all in!

Oh, and just incase you missed the magical video that my friends at Samba Joy created for me, see below!

                 – With Love, Carrots and Cake,

Carrots and Cake Nita Sharda


Chocolate Avocado Mousse

Smooth, creamy and chocolatey.

This is the kind of dessert that makes you feel good as you’re eating it. It also happens to be dairy-free, gluten-free and isn’t chalk full of refined sugar. Now let me warn you, if you’re expecting this to taste like our traditional Jell-O brand chocolate puddings, you need to know it doesn’t. This take on a chocolate mousse plays on the flavor and texture of the avocado–creating a dessert that is smooth and creamy. But heck, who care about all that when it has chocolate in it!

Don’t be alarmed by the addition of soy sauce as an ingredient. It helps to mask the taste of the avocado and enhances the flavor of the cocoa powder. I prommmise. 

Go on, enjoy. 

Carrots and Cake

Chocolate Avocado Mousse
 
Prep time
Total time
 
Serves: 4 - 5
Ingredients
  • 2 ripe avocados
  • 6 tbsp unsweetened raw cocoa powder
  • 5 tbsp maple syrup or agave nectar
  • ¼ cup milk (or water, or an alternative milk substitute)
  • 1 tsp vanilla
  • 1 tsp reduced sodium soy sauce (if Gluten Free source GF soy sauce)
  • Fresh fruit for garnish
Instructions
  1. Place all the ingredients in the bowl of an electric food processor.
  2. Process until mixture is smooth. If the pudding is too thick, feel free to add more liquid.
  3. Garnish with desired fruit such as raspberries, kiwi or mango!

Signature2