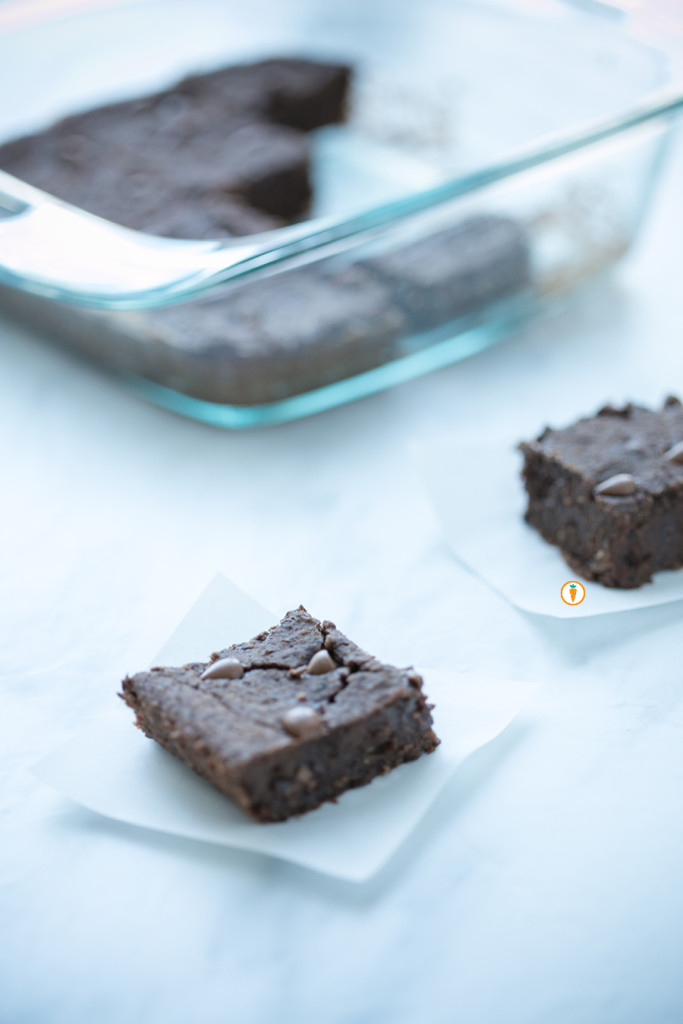
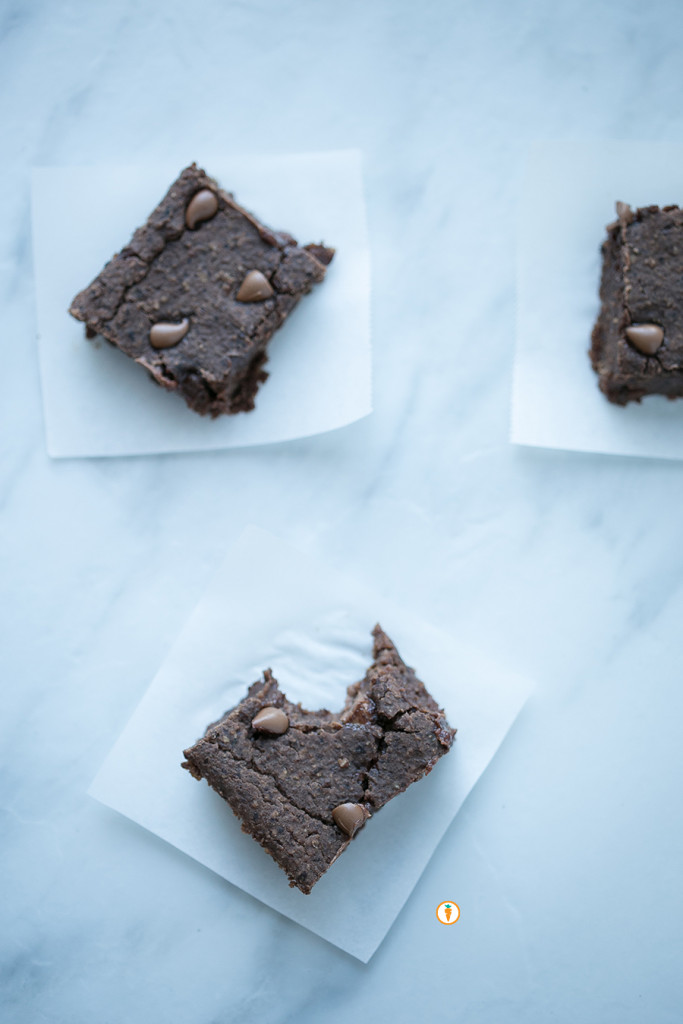
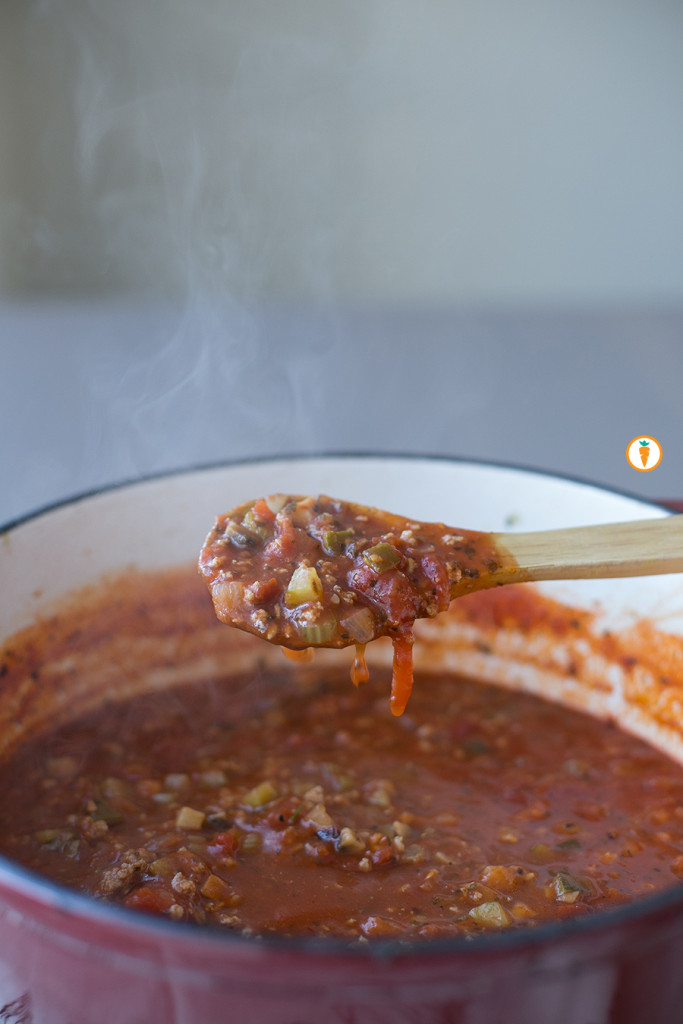
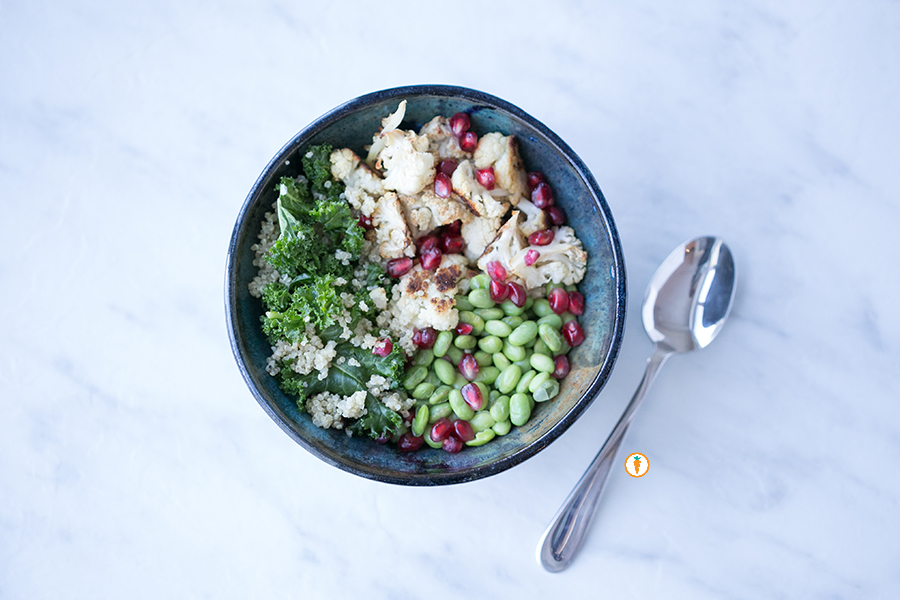
Seriously, yummy.
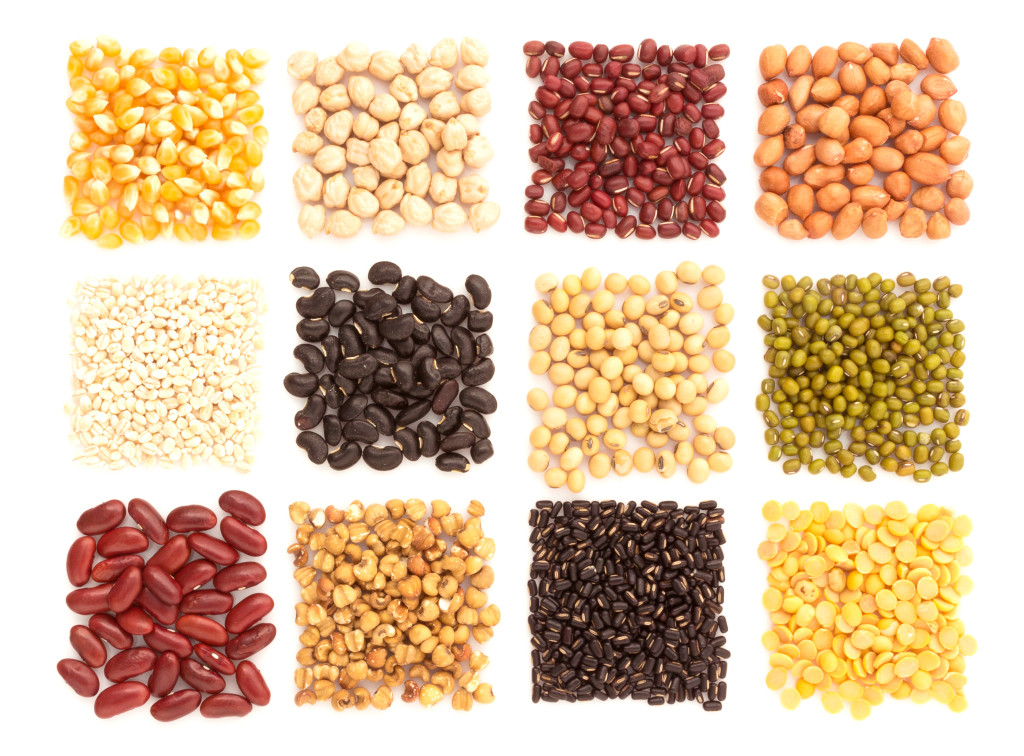
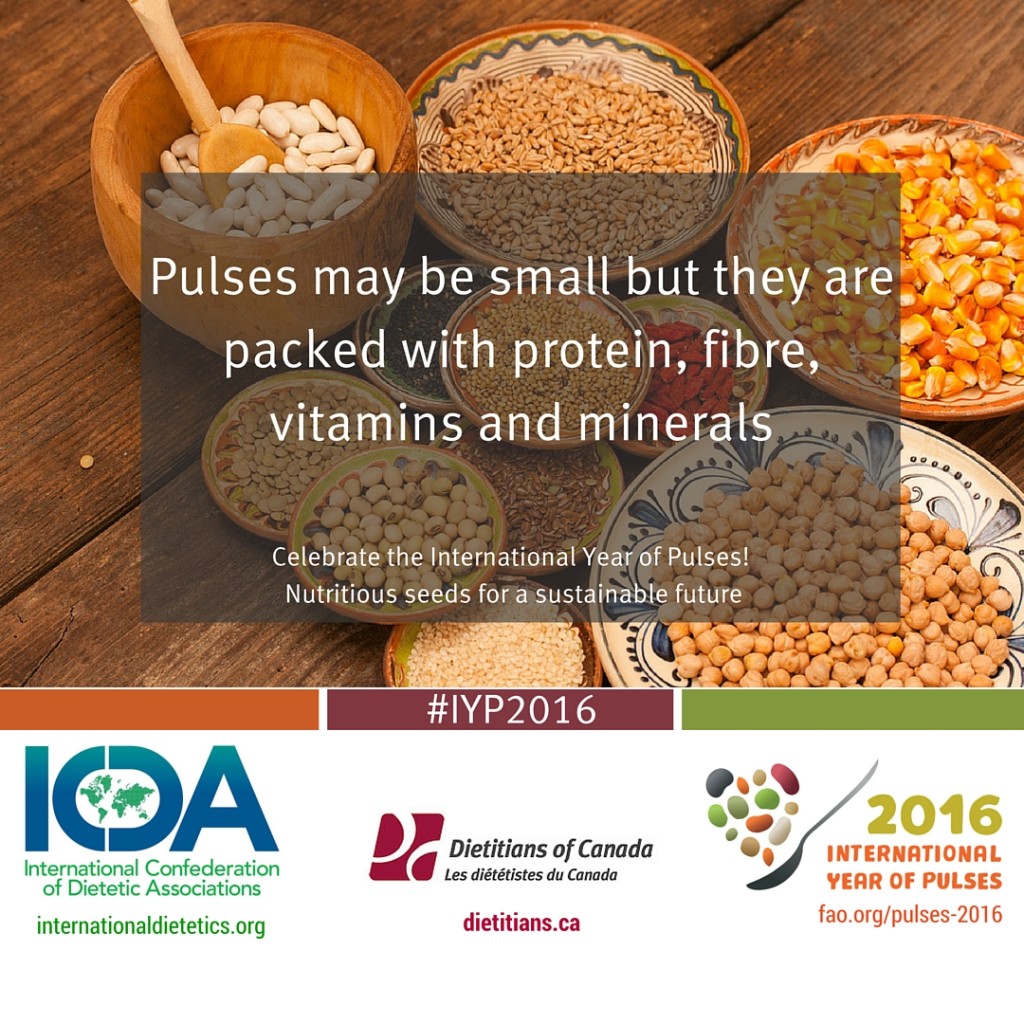
Earlier this week we talked to you about how excited we are that 2016 is the International Year of the Pulse. Hip hip hooray! In today’s recipe post we’re sharing an exciting brownie recipe that uses black beans. Yes, you read that right: BLACK BEANS. Please, don’t be scared – the results are amazing and dddddelish.
If you’re also making it a goal to experiment with new grains you’ll note that this recipe is actually wheat free. Instead, it uses oats. The original inspiration came from a fellow food blogger who we love, Chocolate Covered Katie. Our contributor Ceone had also made variations of the recipe in the past, so we wanted to share-share (what do they say? Sharing is caring). We made a few adaptations such as using applesauce to reduce the fat content and also decided to finely process the oats a bit more. The result is a brownie that resembles fudge but is still soft, a little gooey and chocolatey. All good things people. All good things.
From a nutrition standpoint, what I love about this dessert option is that it offers my clients an opportunity to still practice balance. In comparison to commercial or boxed brownies, this brownie is fairly low in sugar, offers up some fibre and protein which in turn will help you feel full for longer (that’s because fibre and protein are satiating). It’s totally the type of treat (or every day food) that really can be good for you.

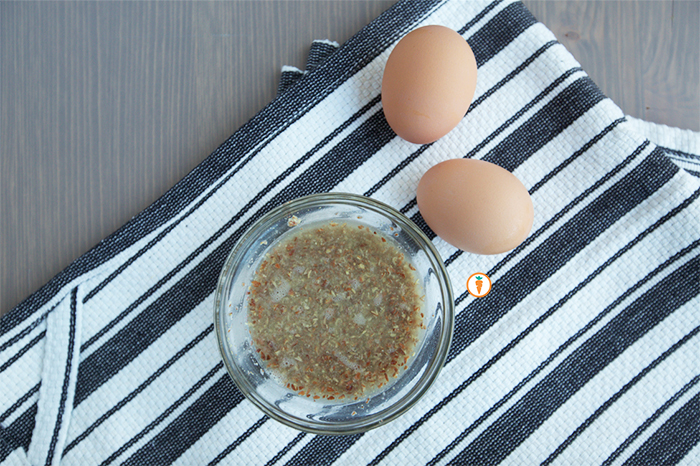
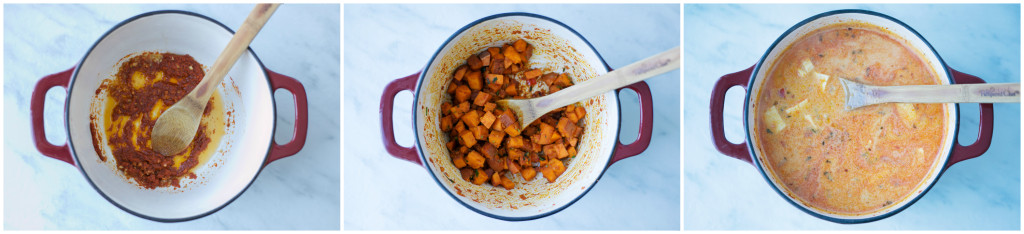
All mixed up.
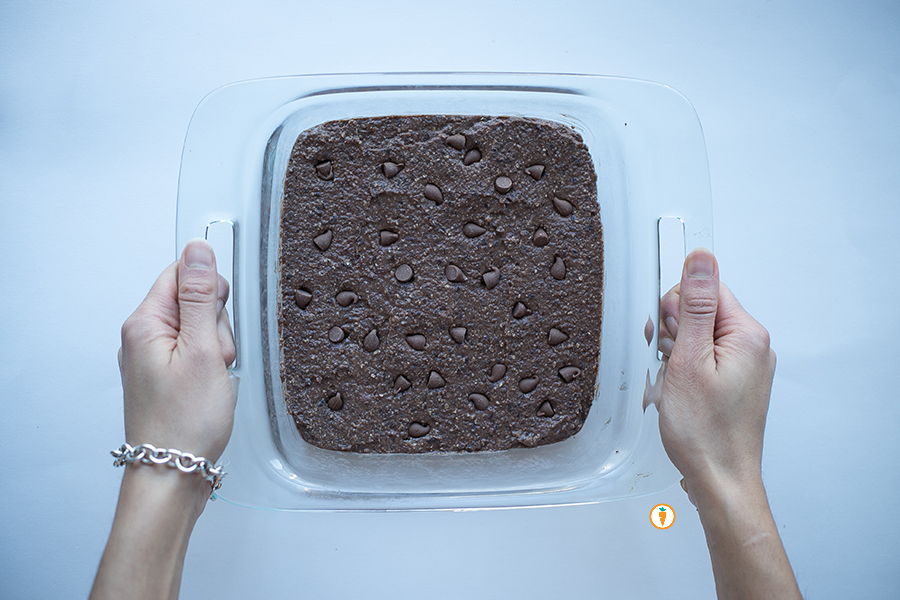
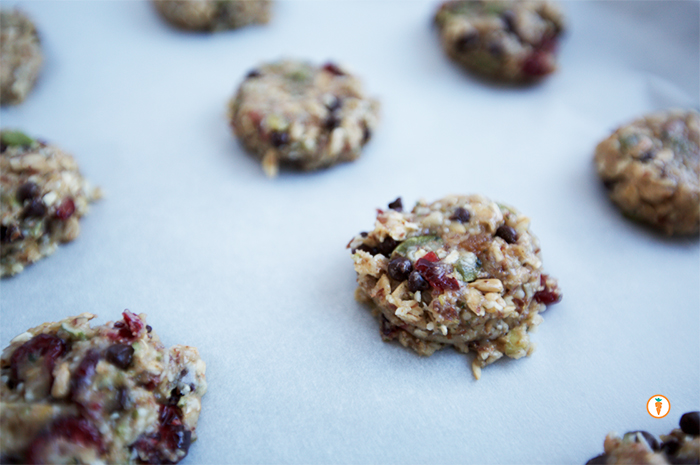
Before it goes into the oven.
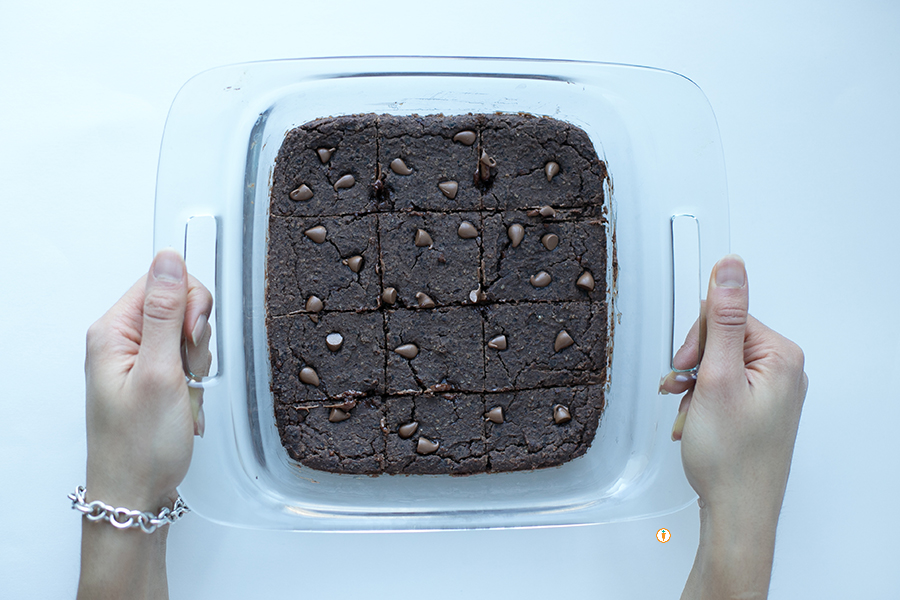
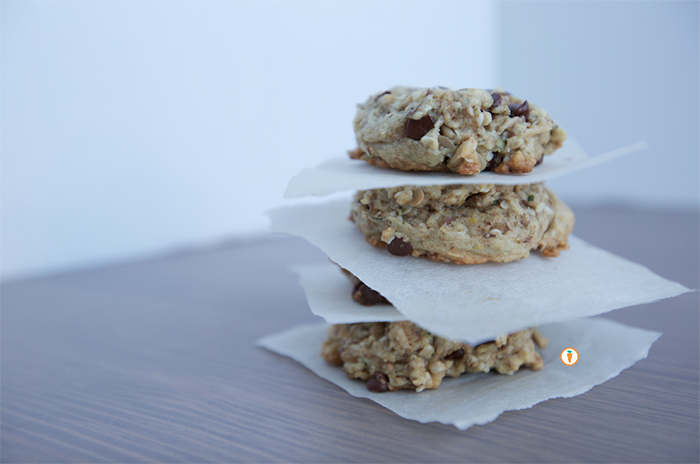
After it’s been baked.
Okay, okay. Enough with the chatter. Recipe below:
- 1½ cups black beans, drained and rinsed
- 2 tbsp cocoa powder
- ½ cup quick oats or rolled oats
- ¼ tsp salt
- ⅓ cup maple syrup
- ¼ cup unsweetened applesauce
- 1 tbsp canola oil
- 2 tsp vanilla extract
- ½ tsp baking powder
- ½ cup chocolate chips
- Preheat oven to 350 F.
- Place oats into the bowl of a food processor and pulse until it resembles coarse flour.
- Add remaining ingredients except chocolate chips into a food processor and blend until completely smooth.
- Fold the chocolate chips into the batter.
- Place mixture into a greased 8×8 pan.
- Optional: sprinkle extra chocolate chips over the top.
- Cook the black bean brownies 20 minutes. Allow it to cool and set at least 10 minutes before trying to cutting into it. If they still look a bit undercooked, you can place them in the fridge overnight and they will magically firm up! Makes 12 brownies
These photos were taken by Ceone Dyck, 4th Year Human Nutritional Sciences student. To learn more about Ceone click here or follow her on Facebook.
– With Love, Carrots and Cake,


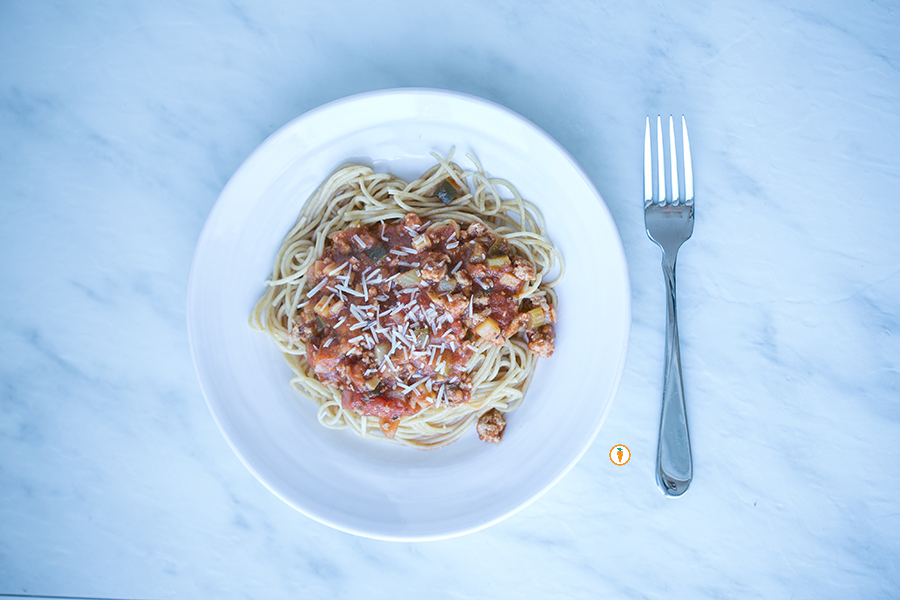 When guests come over for dinner, what’s your go-to-recipe? You know, the one that gets the oohs and ahhs. I tend to lean towards Italian cuisine. I mean, WHO DOESN’T LOVE PASTA? Pasta tends to receive a lot of negativity – you know, it’s just carbs, right? No way! Pasta is actually very versatile and can be super nutritious. Most enriched varieties come with B vitamins and iron. Not to mention it’s hella economical.
 Remember a


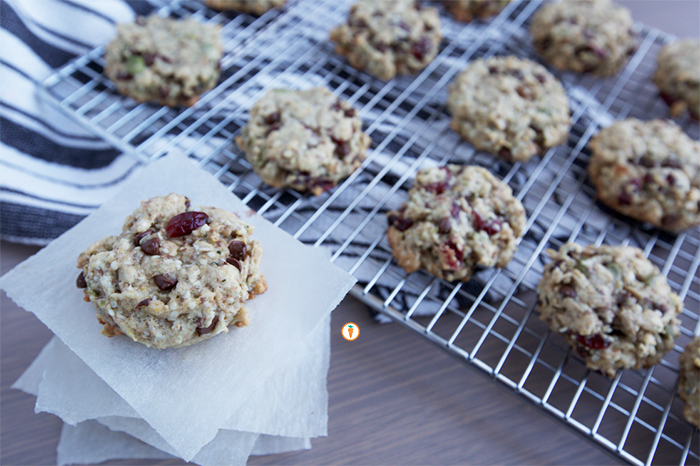 Have you ever experienced that moment when you perfect the most incredible recipe? I have. It was a great feeling but one that certainly came with a lot of errors, epic-fails and me wracking my brain to problem solve. The issue was I kept getting a cookie that was too dense and too “hard”. After altering the recipe (five times) and most importantly decreasing the baking time, I got it. PS it totally pays to have friends like
 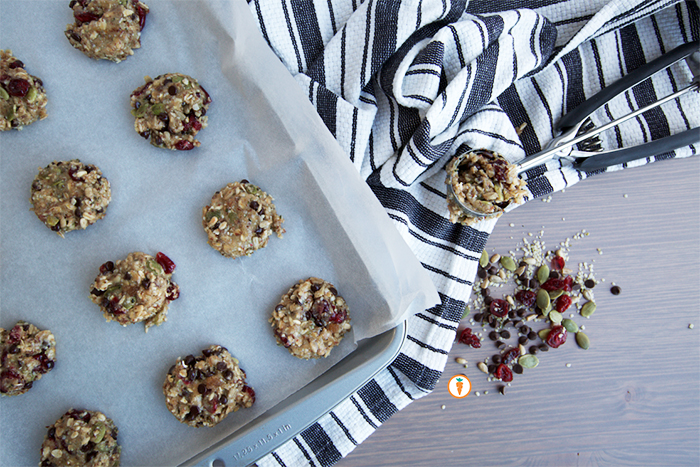 In the mean time, bake these cookies. Pour yourself a glass of milk.